I Ruined a $200 Oak Dresser With 150-Grit Sandpaper
It was a solid piece. Dovetailed drawers, original hardware, the kind of thing you drag home from an estate sale feeling smug. I followed three different tutorials. Every single one said 150 grit. So I sanded that dresser to 150, wiped it clean, cracked open a can of gel stain, and watched it pill and slide around like I was trying to stain a kitchen countertop. Blotchy in some spots, barely there in others. I had to strip it and start over. The dresser survived. My confidence did not.
What nobody told me — what I had to figure out by ruining things — is that gel stain doesn’t work like regular stain. The rules are actually backwards from what most finishing guides assume.
Why Gel Stain Behaves Differently Than Penetrating Stain
Most people pick up a can of gel stain thinking it’s just stain in a thicker jar. It’s not. A typical wiping stain runs somewhere between 10 and 50 centipoise, thin enough to wick into wood fibers on contact. Gel stain sits between 100,000 and 200,000 centipoise. That’s closer to pudding than to paint. It’s not designed to penetrate. It’s designed to sit on the surface and build a film, roughly 3 to 5 mils wet per coat.
You’re essentially applying a tinted varnish. And once you understand that, every piece of sanding advice aimed at penetrating stains becomes actively wrong for this product.
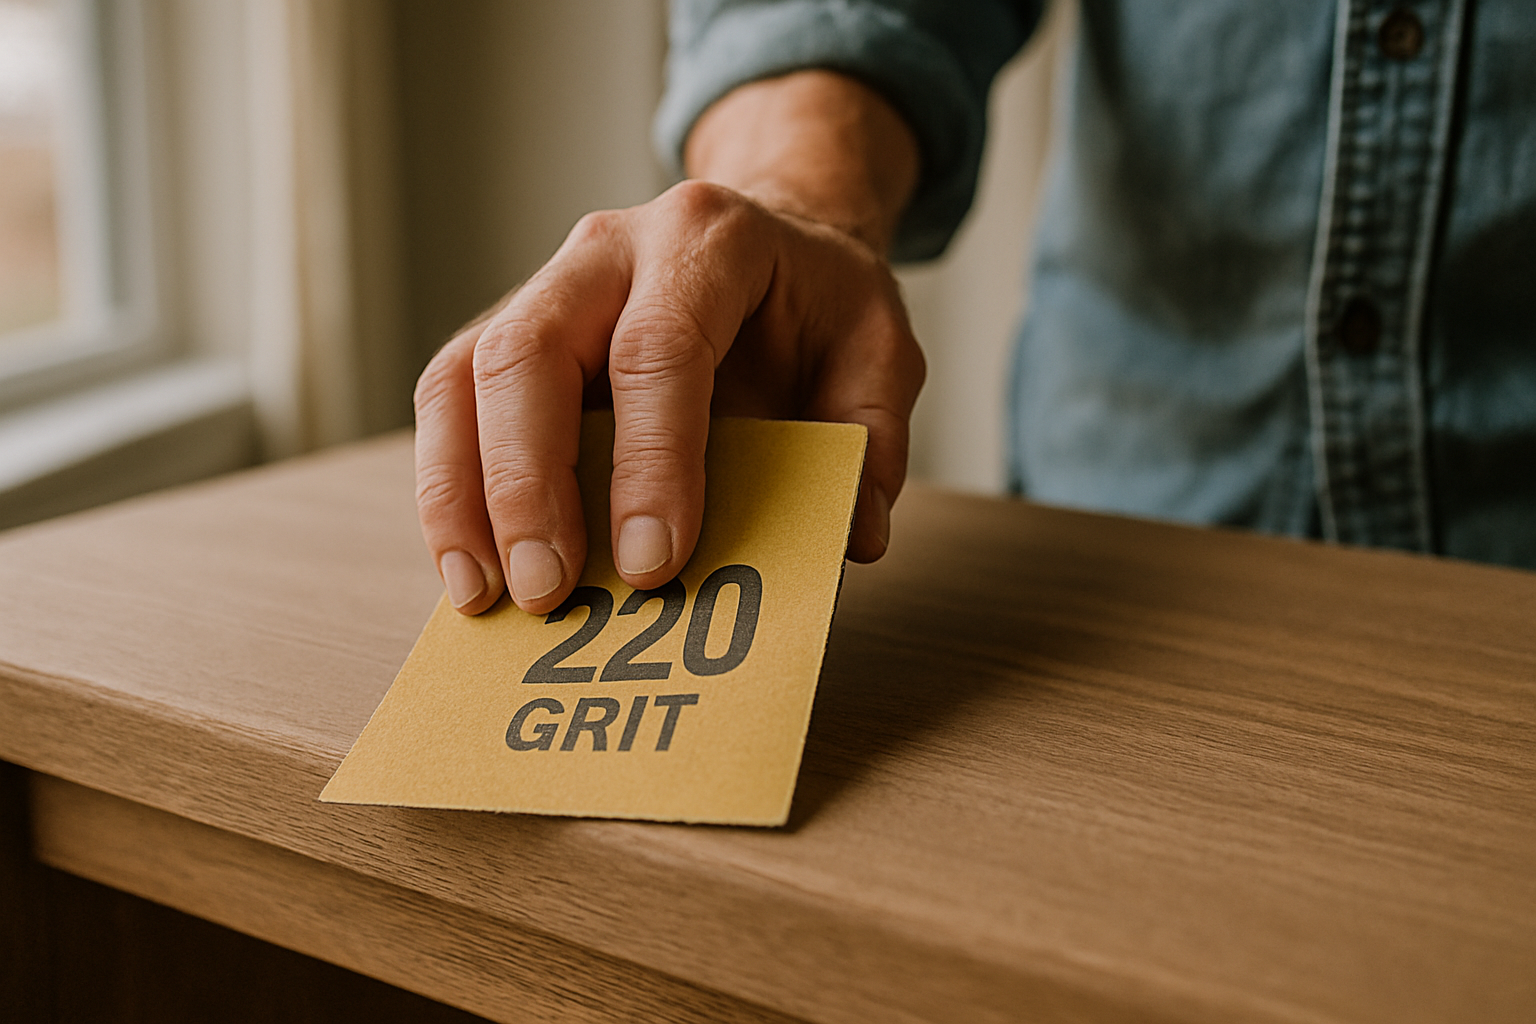
Penetrating stains want open grain and deep pores — more surface area for the liquid to absorb into. So the old logic says: sand finer, close the grain slightly, control the absorption rate. That logic made sense. For that product. Gel stain needs something completely different. It needs tooth. It needs a surface that’s slightly rough at a microscopic level so the product has something physical to grab onto while it cures. Smooth wood repels it. And that’s exactly what 150-grit, 180-grit, or god forbid 220-grit gives you.
The Grit Sweet Spot: Why 100–120 Is the Ceiling, Not the Floor

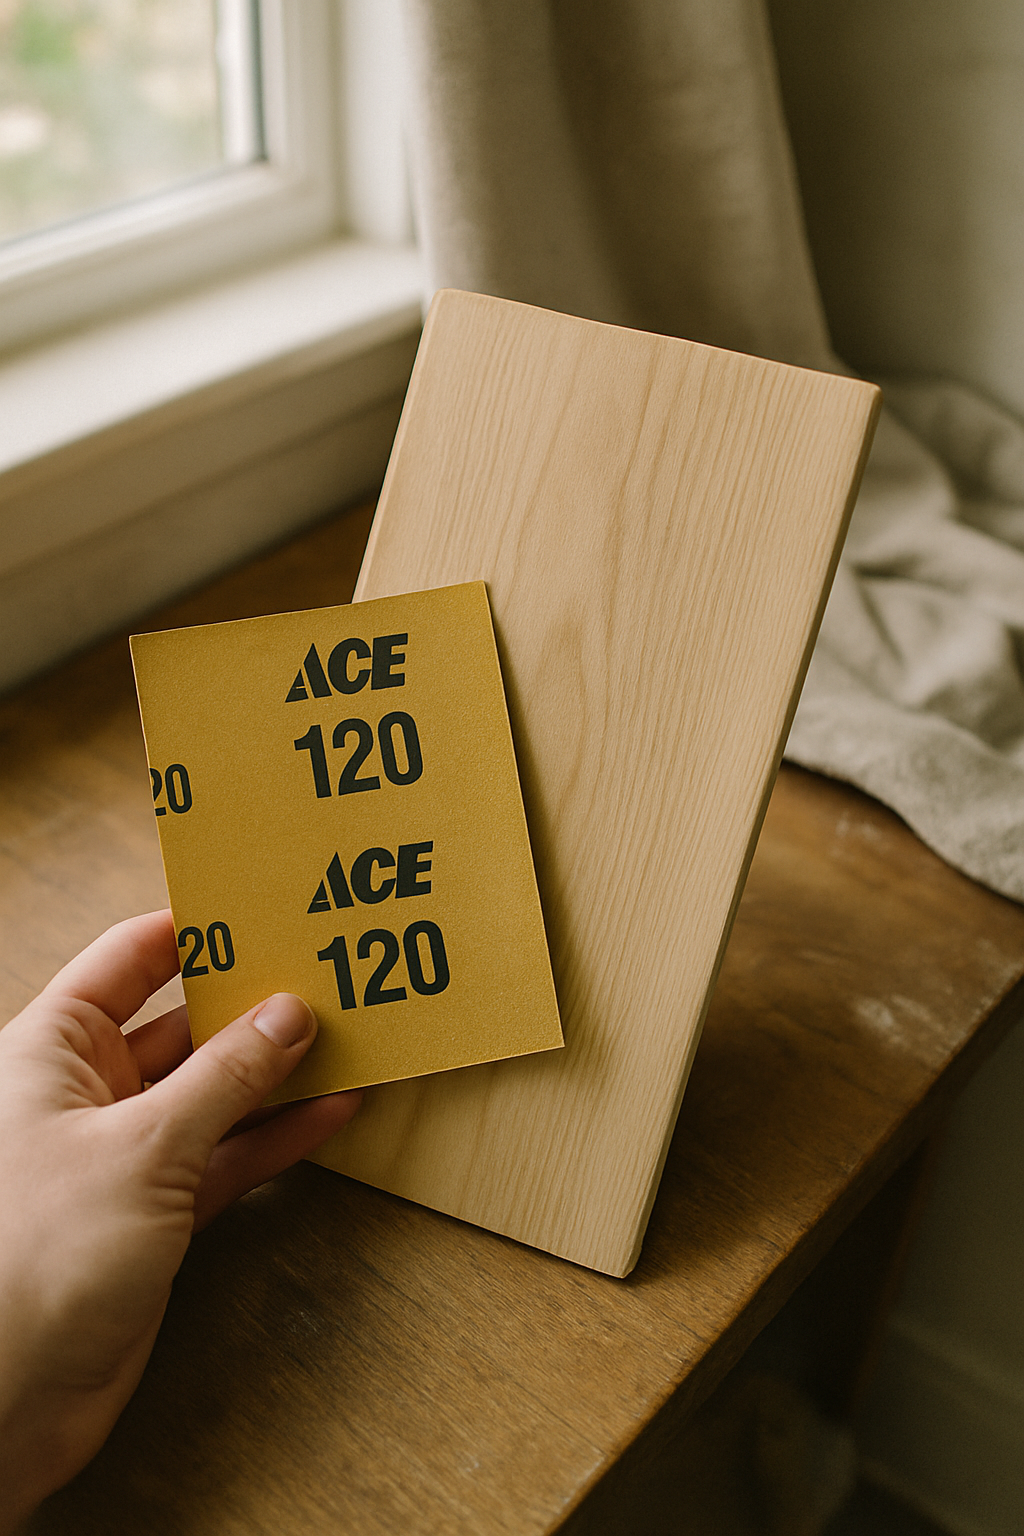
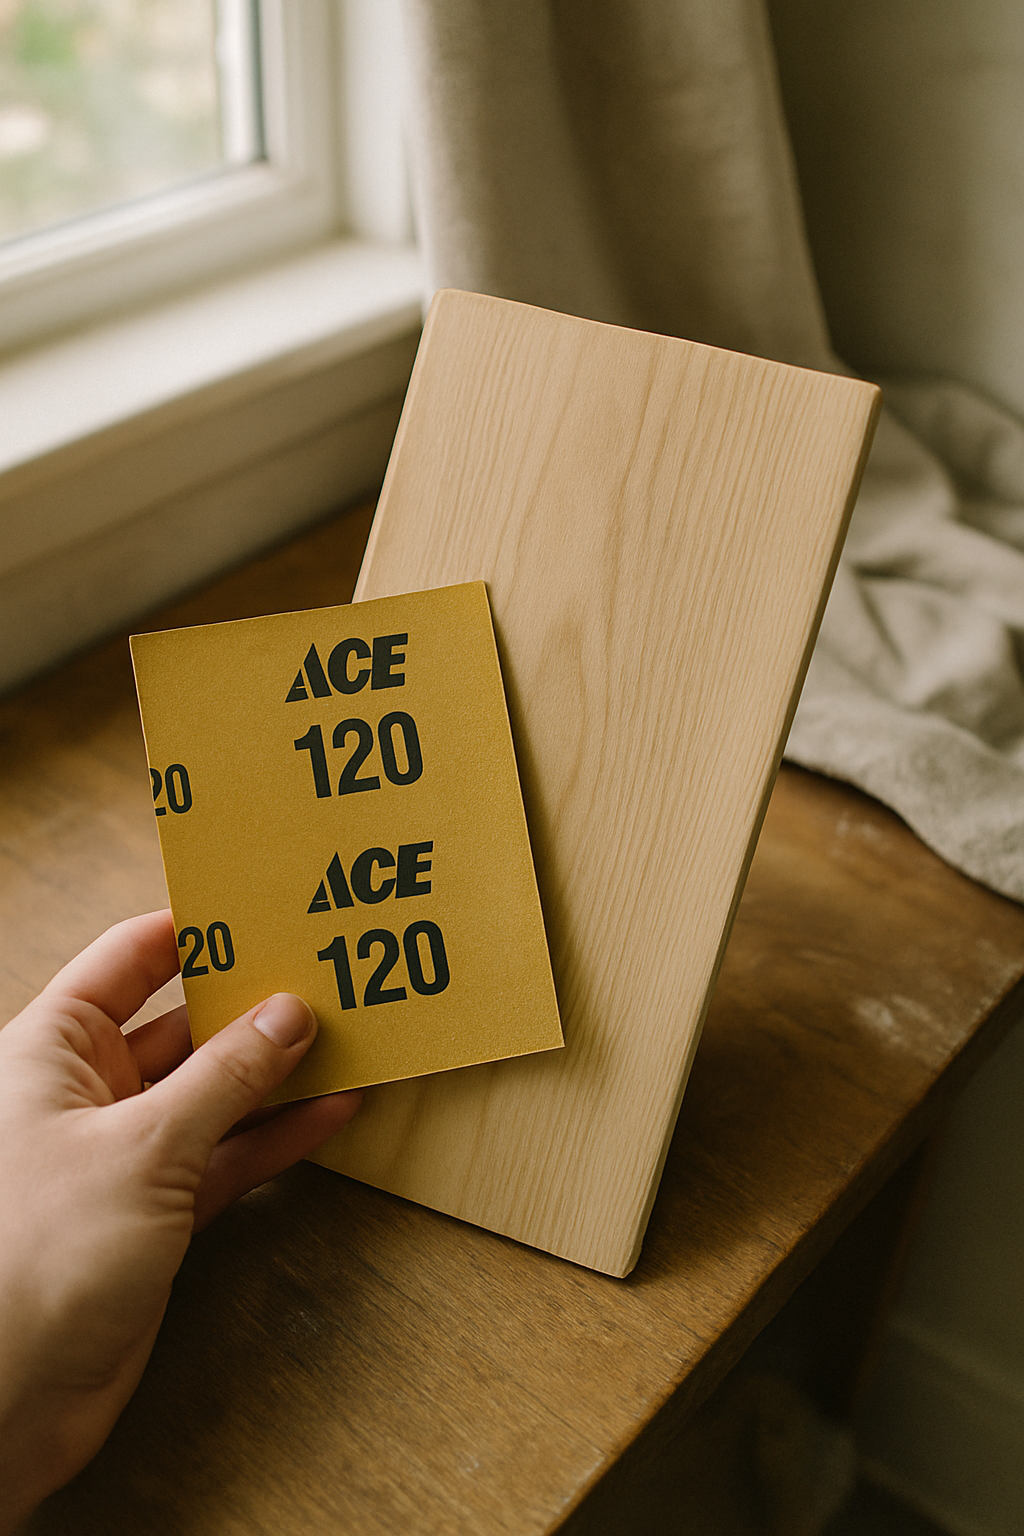
Stop at 120. Seriously. That’s the top end, not the starting point.
120-grit leaves scratch depths averaging 70 to 100 microns. That sounds technical, but what it means in practice is that the surface has real microscopic valleys for the gel stain to key into. Sand to 180 and you reduce surface area contact by roughly 30% compared to 120. That’s not a small difference. That’s the difference between a coat that grips and a coat that skids.
I know it feels wrong. If you’ve done any finish work — trim, cabinets, anything going under a clear coat — your hands are trained to keep going until the wood feels almost glassy. That instinct is correct for those jobs. For gel stain it will wreck you. The wood should feel slightly grippy when you run your palm across it. Not rough, not scratchy. Grippy. Like the wood has a little resistance. If it feels too smooth, you’ve gone too far and you need to go back to 100.
For the actual paper, I’ve been using 3M Pro Grade Precision 120-grit lately. About $12 for an 8-sheet pack. Nothing exotic. It cuts evenly and the grit labeling is actually consistent, which matters more than most people realize — more on that in a minute.
Species Matters: Different Woods Demand Different Starting Grits
Here’s where the single-grit advice collapses completely. Oak, maple, pine — they’re not the same substrate, and pretending they are is how you end up with a stain job that looks like a mistake.
Oak has a naturally open grain. The pores are already there, doing the work for you. Start at 100 grit and you’re fine. You don’t need to dig in harder because the wood’s structure is already cooperating. Ash is similar. These are forgiving in the way that gel stain woods actually can be forgiving — not because the stain is easy, but because the grain does the adhesion work.
Maple is different. Maple has a naturally closed, almost glazed surface, especially if it’s been sitting in a shop or on a shelf for a while. You need 80 grit to break through that surface glaze before you step up to 120. Skip the 80 and your 120 is basically polishing a slightly burnished surface. I learned this on a maple side table I bought unfinished from a craft store for $35. It looked fine. The stain beaded. I cried a little.
Pine is the worst. I’ll just say that plainly. Pine has resin pockets distributed throughout the grain — little saturated zones that flat-out reject stain — and no grit number solves that on its own. Start at 80 to cut through the resin and create some uniformity, but Minwax Gel Stain actually warns against pine without a pre-conditioner right on their label, and they’re not wrong. A pre-conditioner on pine isn’t optional prep you can skip when you’re in a hurry. It’s load-bearing. Skip it and your pine project will look tie-dyed.
Sanding Direction Is More Important Than the Number on the Paper
I’d trade a whole grit number for correct direction. Every time.
Cross-grain scratches, even shallow ones, act like little channels that collect gel stain and hold it darker than the surrounding wood. At a 45-degree angle, cross-grain scratches can be visible through gel stain at as little as 60-grit depth. Which means a random-orbit sander, used as the final pass, will absolutely show those swirl marks under gel stain in a way they’d never show under paint or even a clear coat.
Your final pass has to be with the grain. Not “mostly with the grain.” With the grain, for at least the last 12 inches of every stroke, long and consistent. A woodworker who does this with 100-grit will beat someone who goes cross-grain with 150, no contest. The direction sets the scratch pattern. The gel stain reads that pattern and follows it.
This is where random-orbit sanders get people into trouble. They’re great tools — I use mine constantly. But they have to be followed by a hand-sanding pass with the grain. It takes five minutes on most pieces. Skip it and you’re gambling. And with a $200 estate-sale dresser, that’s not a gamble I’d take again.
Between Coats: The Case Against Sanding at All
Conventional wisdom says sand lightly between every coat. That’s correct for paint. It is mostly wrong for gel stain, and I wish someone had told me this before I sanded away a color layer I’d spent an hour building.
Gel stain builds slowly and subtly. Each coat adds depth. If you sand between coats without a specific reason — a dust nib, a raised fiber, a piece of debris that landed while it was wet — you’re removing color you just laid down. You’re not improving adhesion. You’re just giving yourself extra work and a lighter result.
If you genuinely need to go between coats, 0000 steel wool or 400-grit is the move. Light touch, with the grain. And you need to wait. Minimum 8 to 12 hours at 70°F before you touch it. General Finishes recommends 24 hours between coats on their gel stain, and their product FAQ is actually pretty specific about this. I’ve rushed it at hour six and paid for it with a gummy, lifted surface.
Between-coat sanding mostly serves anxious people who need to do something. I am one of those people. And I’m telling you: put the sandpaper down and go watch TV.
Sandpaper Type: Aluminum Oxide vs. Garnet for This Specific Job
Most people buy whatever’s cheapest or whatever’s on sale in the right grit. I get it. But for gel stain prep, the abrasive mineral actually matters in a specific way.
Aluminum oxide is aggressive and durable. It cuts fast, it lasts, and it’s what you want for stock removal — your 80-grit passes on maple or pine, your initial flattening work. Diablo makes a solid 100-grit in a 5-pack for around $8 at Home Depot and it’s genuinely consistent sheet to sheet. That consistency matters more than people think. Inconsistent grit means you’re not actually sanding at 100 — you’re sanding at 100 plus whatever that one weird sheet actually is.
Garnet is softer. It dulls faster, roughly 30 to 50% fewer strokes than aluminum oxide before it loses its cut. That sounds like a disadvantage. For a final pass on soft woods, it’s actually a feature. A dulling garnet leaves a gentler, more uniform scratch pattern. It’s harder to over-sand with it. I use garnet 120-grit for final passes on pine and softer woods specifically because it kind of stops being aggressive on its own.
Ceramic and zirconia abrasives? Not worth it here. They’re designed for metal work and aggressive material removal. For wood prep before gel stain, you’re paying double for a characteristic you don’t need. Mid-range aluminum oxide does the job and costs half as much. I’ve tested this more than once — I own a genuinely embarrassing amount of sandpaper at this point, stacked in the same cabinet in my hallway where I keep paint samples I’m still “deciding on.”
The One Test That Tells You If Your Surface Is Ready
You can read everything above and still have a sanded surface that isn’t ready. The only way to actually know is to test it physically before the gel stain can comes open.
Put a single drop of water on the surface. Watch it. If it dissipates in under three seconds, absorbs into the wood and disappears, your surface porosity is where it needs to be. If it beads up and sits there for ten seconds or more, you’ve over-sanded. The surface is too closed. Go back to 100 grit.
Second test: stick a piece of blue painter’s tape to the surface and pull it off at a 45-degree angle. If zero wood fibers lift with it, your sanding sequence was correct and the surface is stable. If you’re pulling up fuzz, you’ve got raised grain that needs another light pass with the grain before you stain anything.
Do both tests on a scrap piece of the same species first. Always. Not because you might ruin the scrap — because the scrap will tell you things about that specific board that no tutorial can. Turns out my contractor said something similar years ago when I was prepping the trim in my house for the first time and thought I could skip straight to painting. I did not listen. I redid the trim. I listen now.
Pass both tests and honestly, the whole grit debate recedes. You did it right. Open the can.