I opened my pantry one morning to grab the oatmeal and a can of chickpeas literally fell on my foot. Like, full-on bruise. That was the moment I decided enough was enough and spent the next three weekends going completely feral on pantry organization. What I found out is that a magazine-worthy pantry isn’t about spending a fortune — it’s about a few specific moves that make everything feel intentional. I’ve got a small, awkward pantry in an older house with zero built-ins, and it still looks pretty now. So if I can do it, you absolutely can too.
Clear Containers Are the Foundation (No, Really)
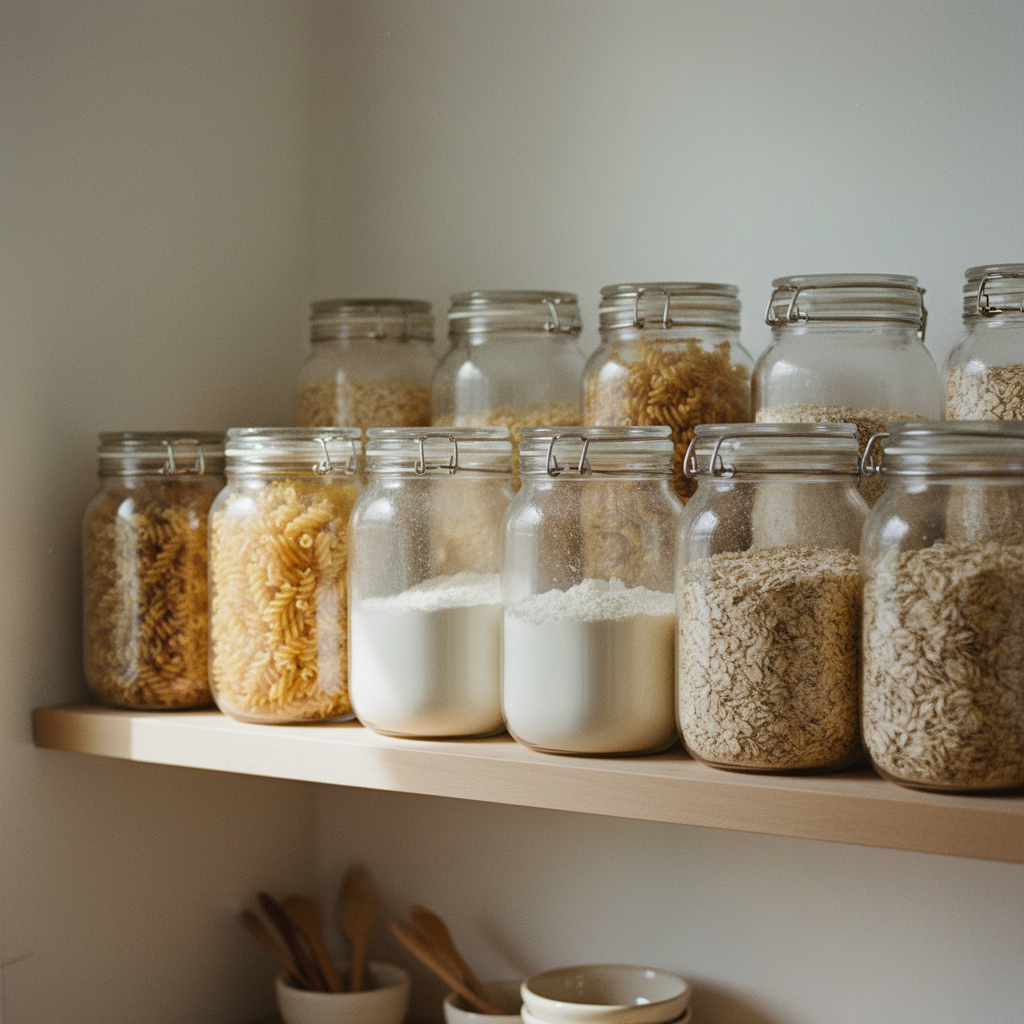
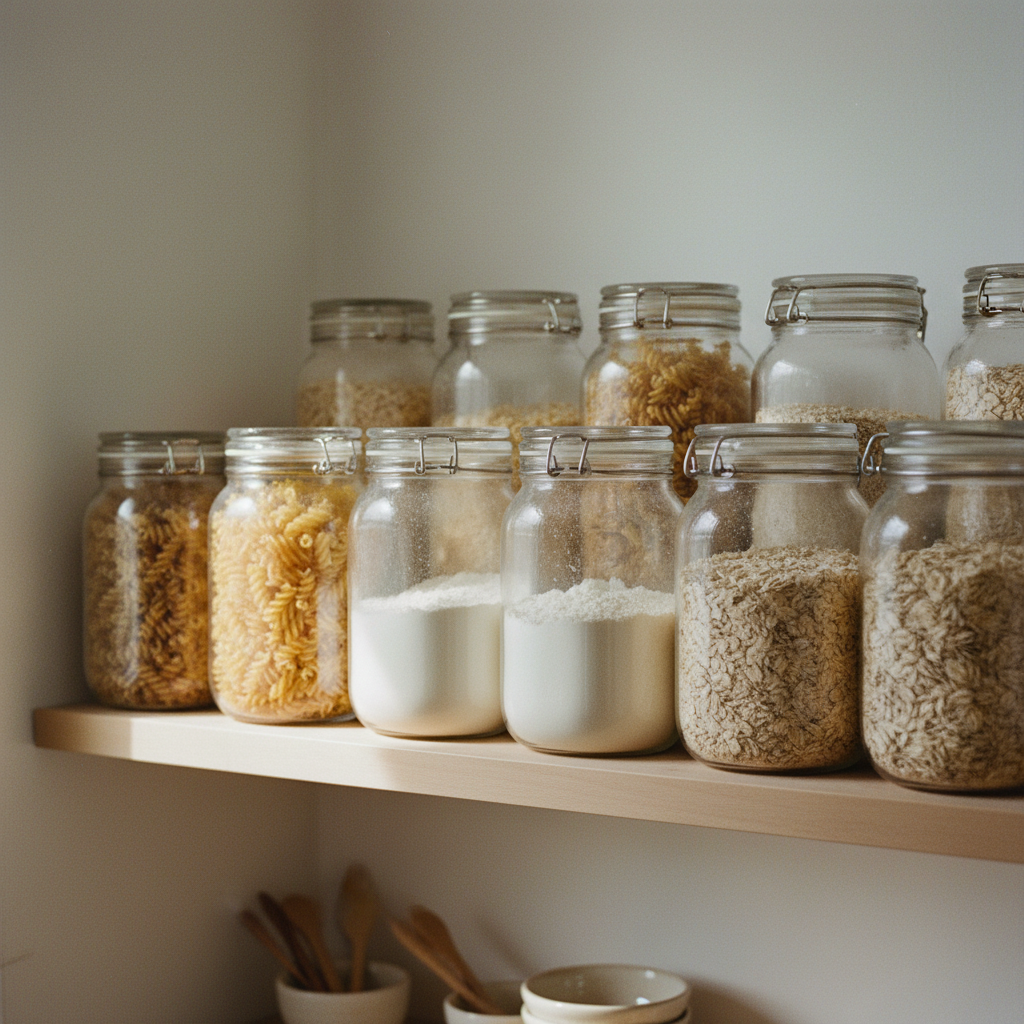
I resisted this for so long. Felt fussy. Felt like a lot of work. Then I finally bought a set of OXO pop-top containers from TJ Maxx for like $40 total and I genuinely cannot believe I waited.
Seeing your flour and pasta and oats in matching clear containers makes everything look purposeful instead of chaotic. It’s not just aesthetic — you actually know when you’re running low without digging around.
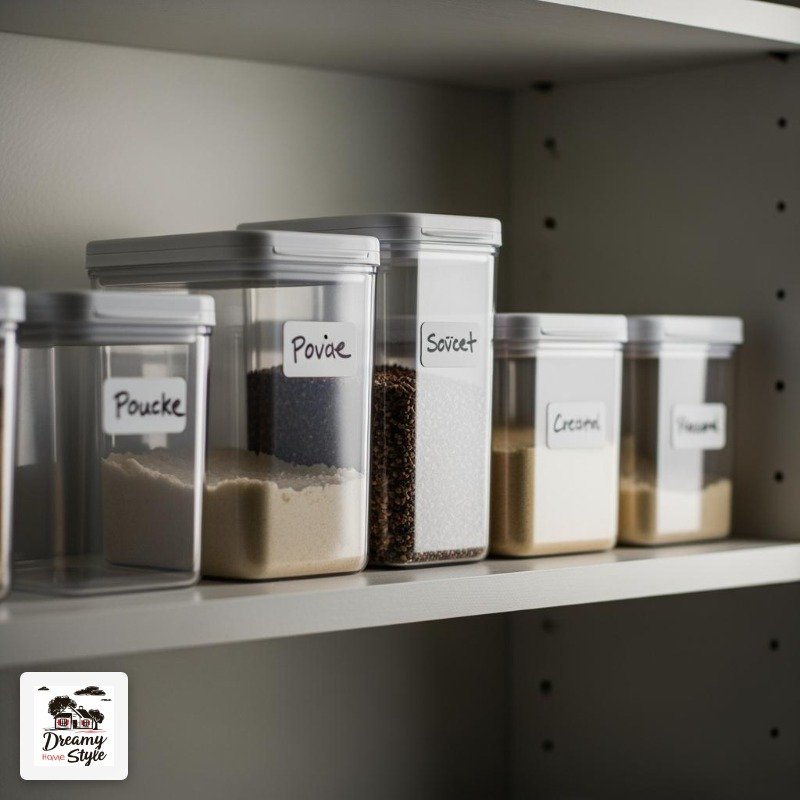
I’d say start with your most-used dry goods first. Flour, sugar, pasta, rice, coffee. Don’t feel like you have to do everything at once or it gets overwhelming fast (I know from experience).
The square and rectangular containers beat the round ones every single time for shelf space. Round containers waste so much real estate on a shelf. Hard pass.
Label Everything Like You Mean It
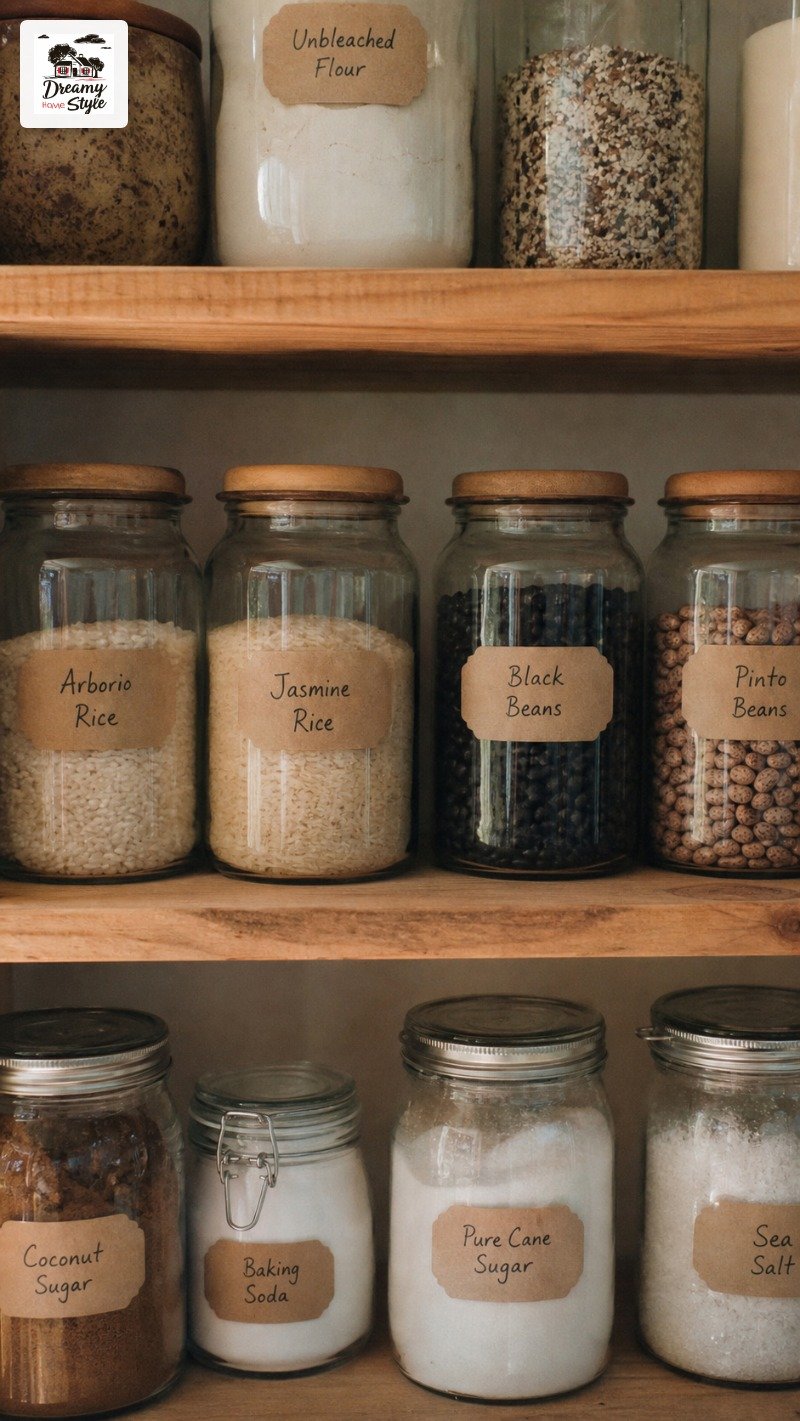
Labels are the thing that make a pantry go from ‘tidy’ to ‘actually magazine-worthy.’ And you don’t need a Cricut to do it well.
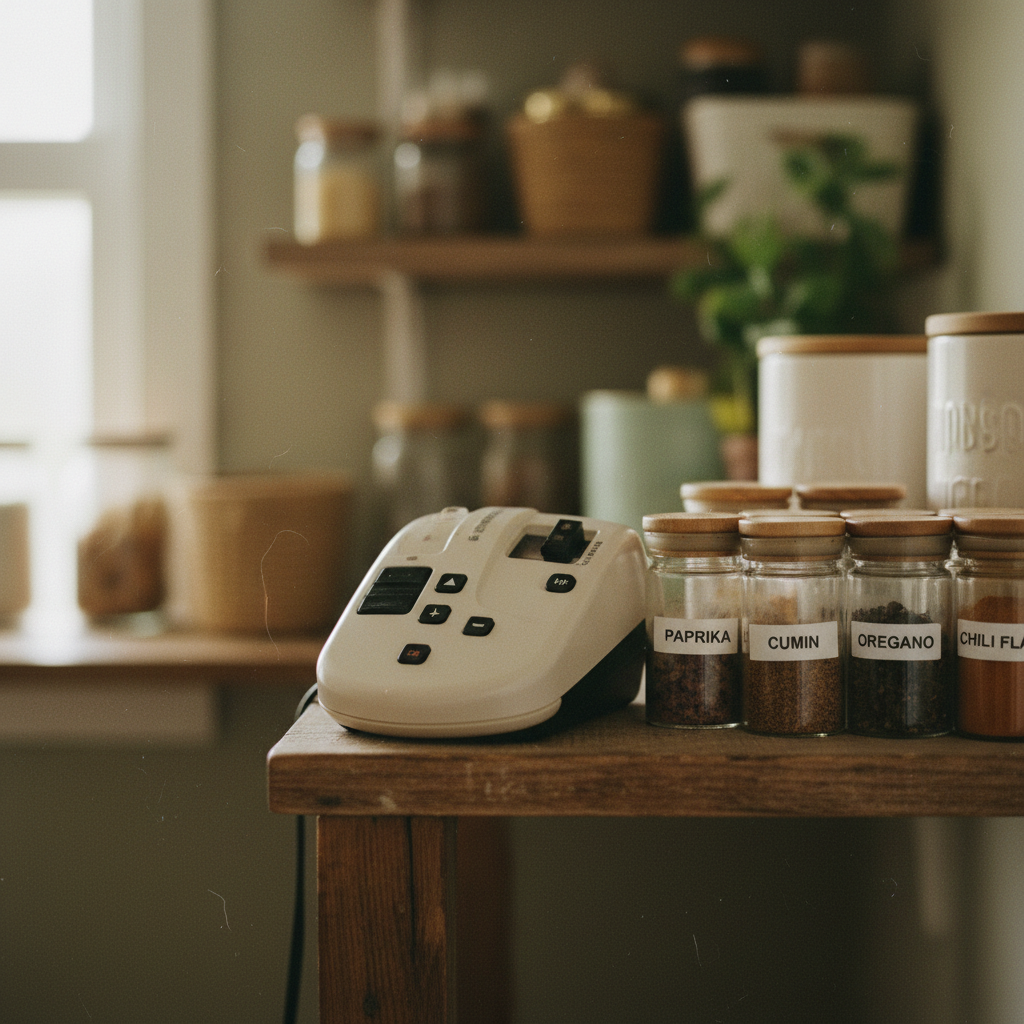
I use a cheap label maker (mine is a Brother P-touch, got it for $18 on sale) and it’s honestly one of my most-used home tools at this point. Clean, simple, readable.
If you want something more aesthetic, handwritten labels with a black fine-tip marker on kraft tags look incredibly warm and personal. I’ve done both depending on the shelf.
One thing I’d say: label the containers AND the shelf itself. When someone else puts groceries away (or when you’re in a hurry), knowing exactly where the cumin lives is a small but real gift to yourself.
Pull-Out Baskets for the Deep Shelves
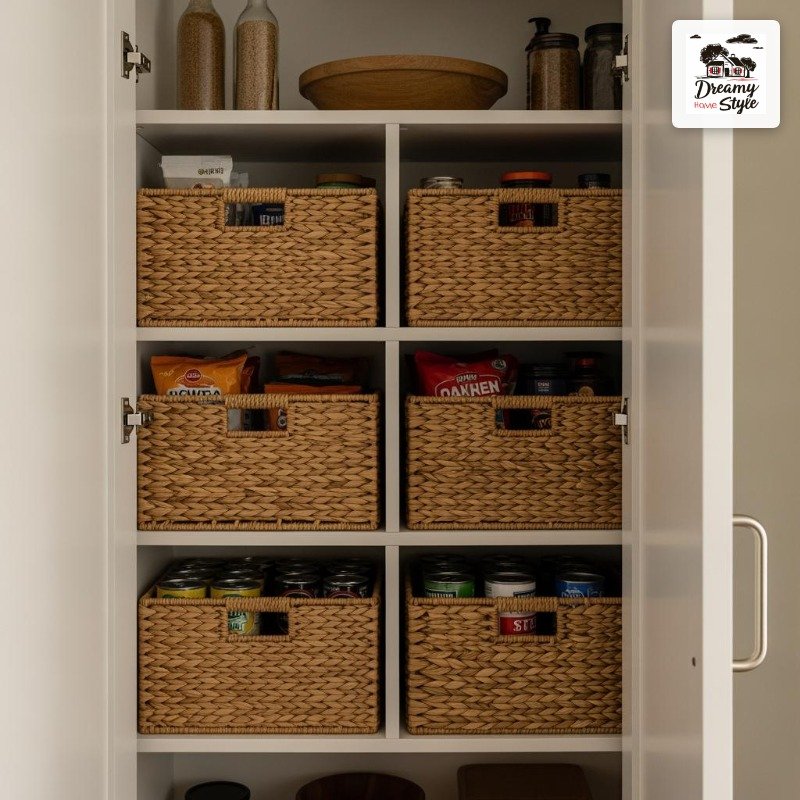
Deep pantry shelves are a trap. Things get shoved to the back and you forget you own three jars of tomato paste.
Woven pull-out baskets changed this completely for me. You can pull the whole basket out, grab what you need, and actually see what’s in there.
I found mine at HomeGoods and Target — the seagrass ones are my favorite because they’re sturdy and they look so warm against white shelves. Around $12-$18 each.
Group things logically in each basket. Baking stuff in one, snack bars in another, canned goods in a third. The categories make restocking groceries so much faster.
A Lazy Susan in Every Corner
 Lazy Susan in Every Corner” />
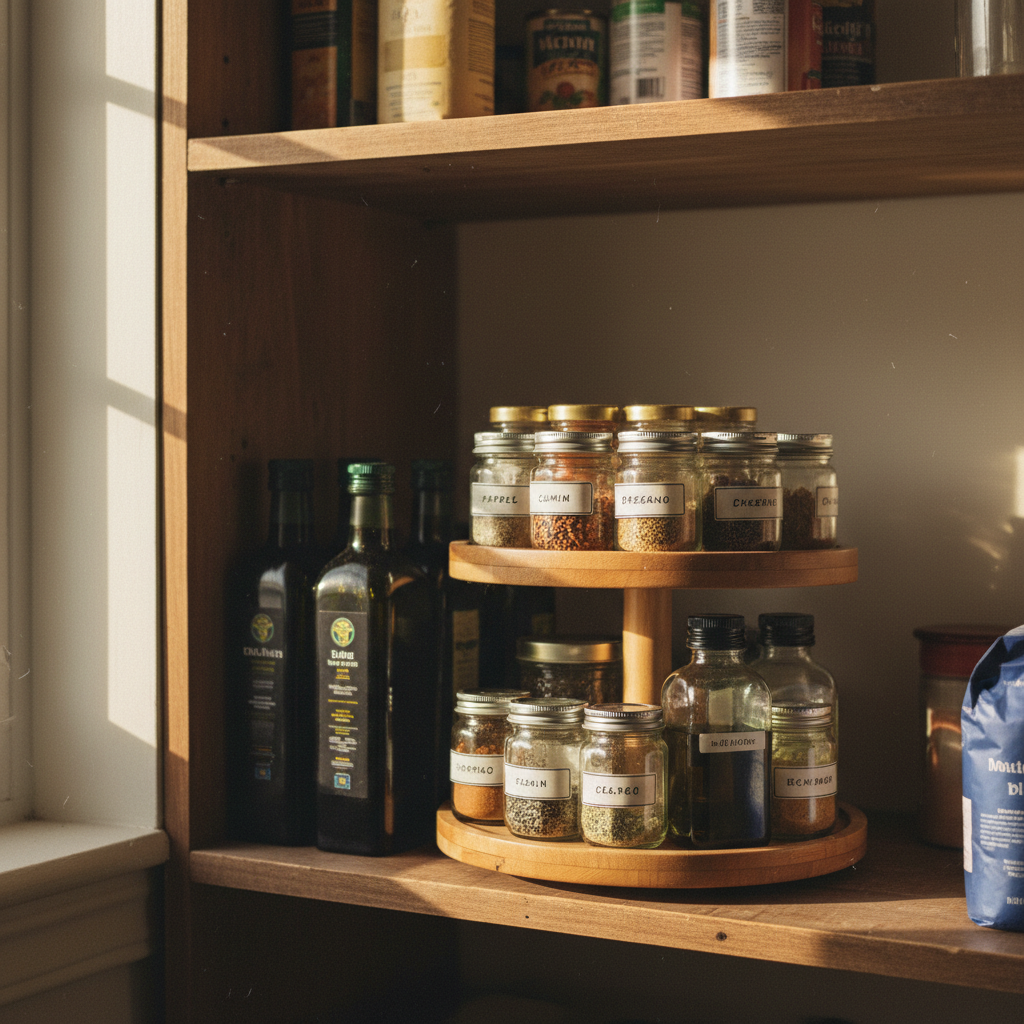
Corner shelves and rounded cabinet backs are the enemy of organization. A lazy susan is the only real answer.
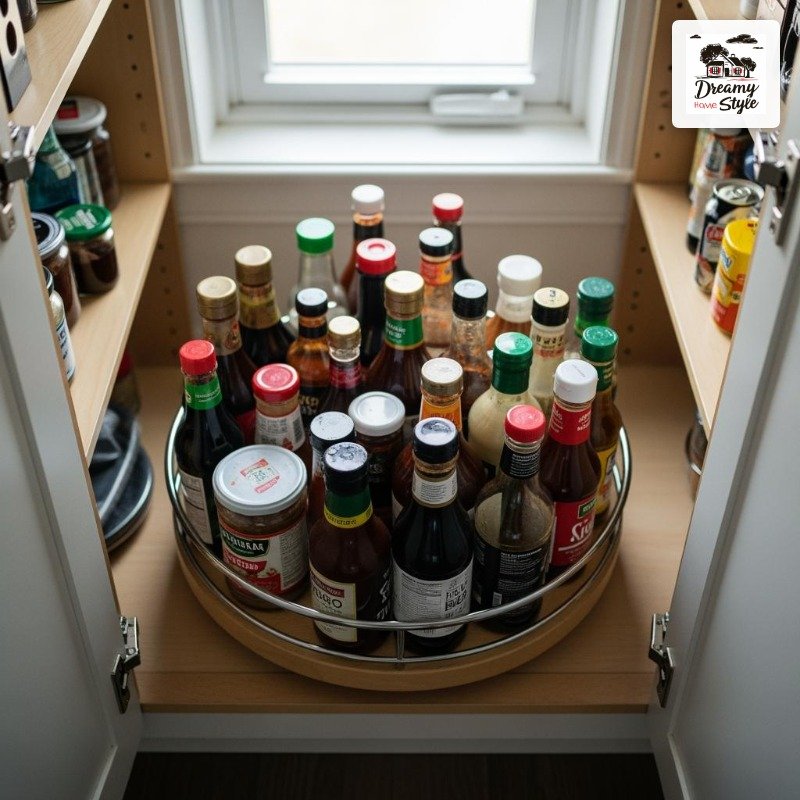
I have one specifically for oils, vinegars, and sauces. Just spin it, grab what you need. No more knocking over the fish sauce to get to the olive oil.
Bamboo lazy susans look really lovely and feel more intentional than the cheap plastic ones — though honestly the plastic ones work just as well if you’re watching your budget.
They’re also great for spices if you don’t have a dedicated spice drawer. Two-tier lazy susans for spices are genuinely incredible and I’m a little obsessed with mine.
The Back of the Door Is Prime Real Estate
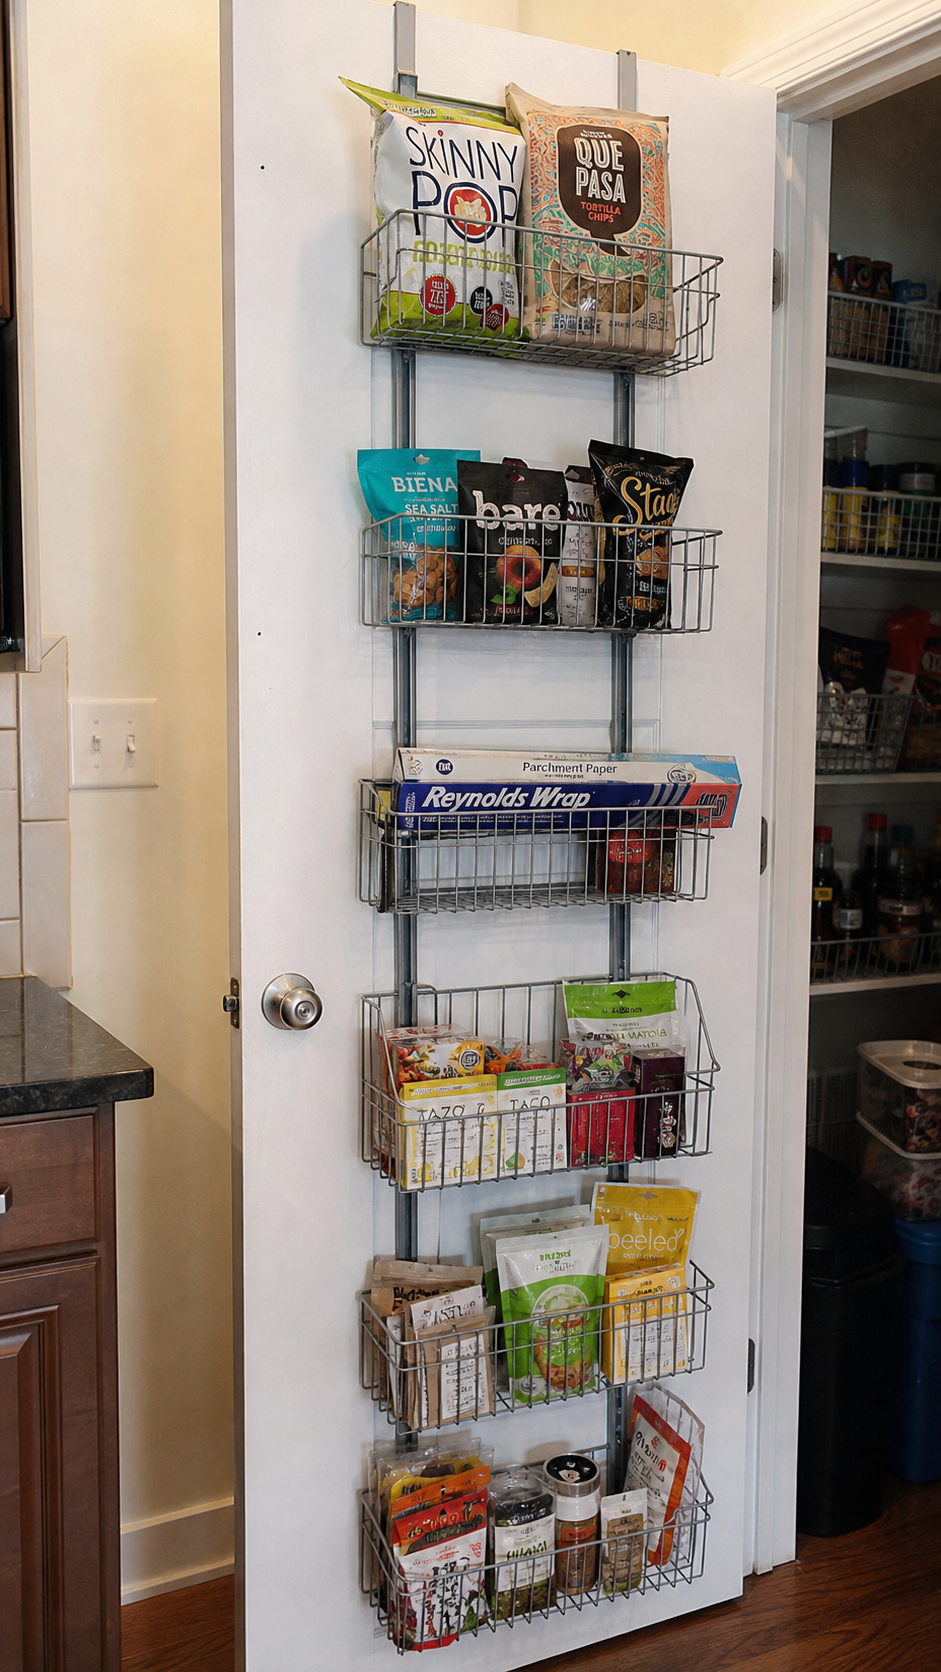
This is one of those things I feel like I should’ve known years earlier. The back of the pantry door is basically a whole extra shelf you’re just not using.
Over-door organizers with wire pockets are perfect for snacks, foil, plastic wrap, and small packets. Mine holds Biscuit’s treats too, which is either cute or a little unhinged — honestly both.
I’d suggest measuring your door clearance before buying anything because some over-door racks are deeper than you’d think and they’ll hit your shelves when you close the door. Learned that the annoying way.
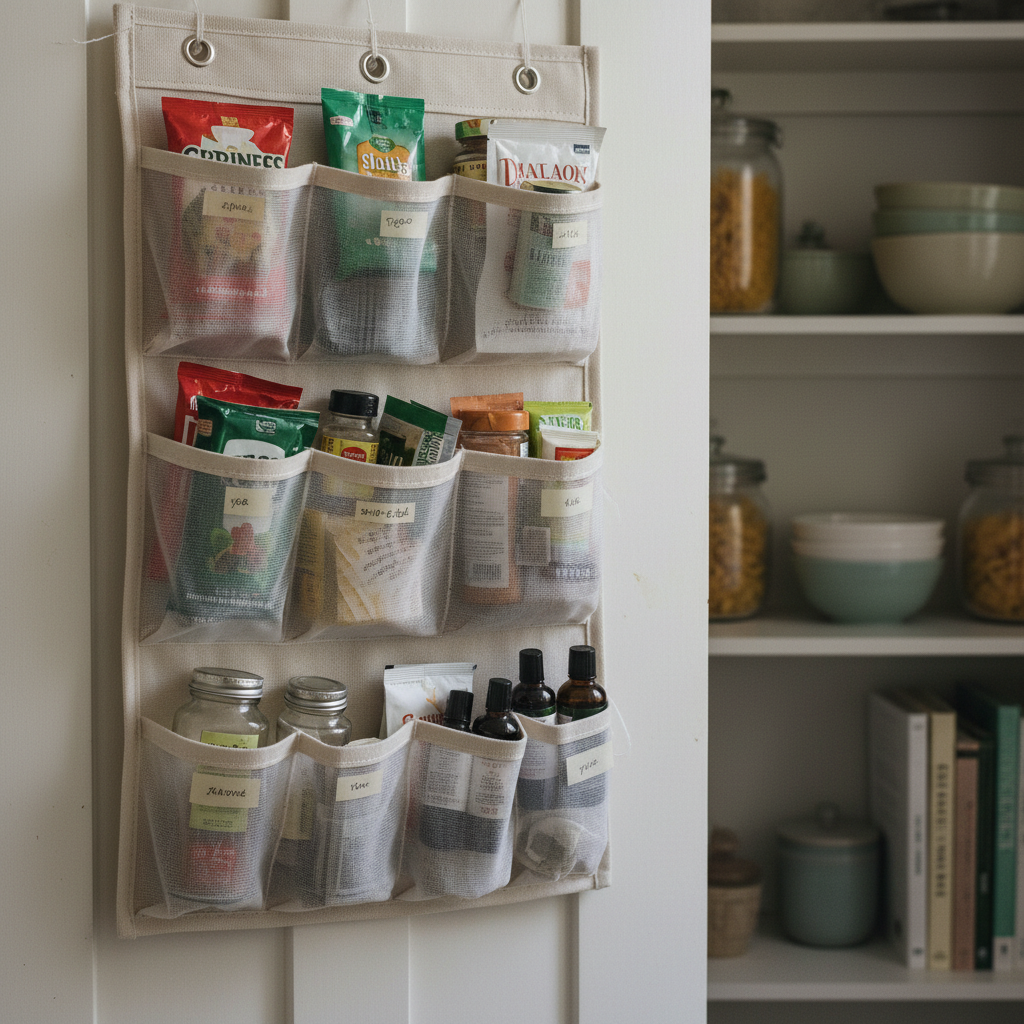
A canvas shoe organizer on the door works great for smaller items and costs almost nothing. Clear pockets so you can see everything.
Line Your Shelves With Contact Paper
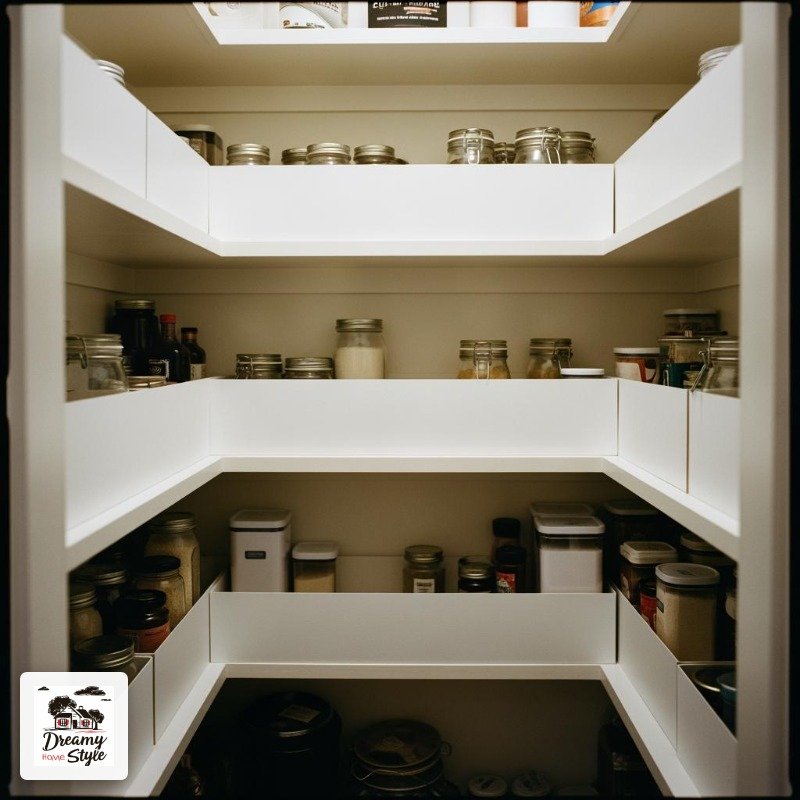
Okay this one is so simple it almost feels too easy, but it makes a difference I can’t really explain until you see it in person.
White or light wood-grain contact paper on shelves makes your pantry feel clean and finished, even in an older house where the shelves are kind of beat up (hi, that’s my house).
I used a marble-print contact paper in mine for a while and it looked genuinely beautiful — very editorial. I eventually switched to simple white because it photographs well and it’s easier to wipe down.
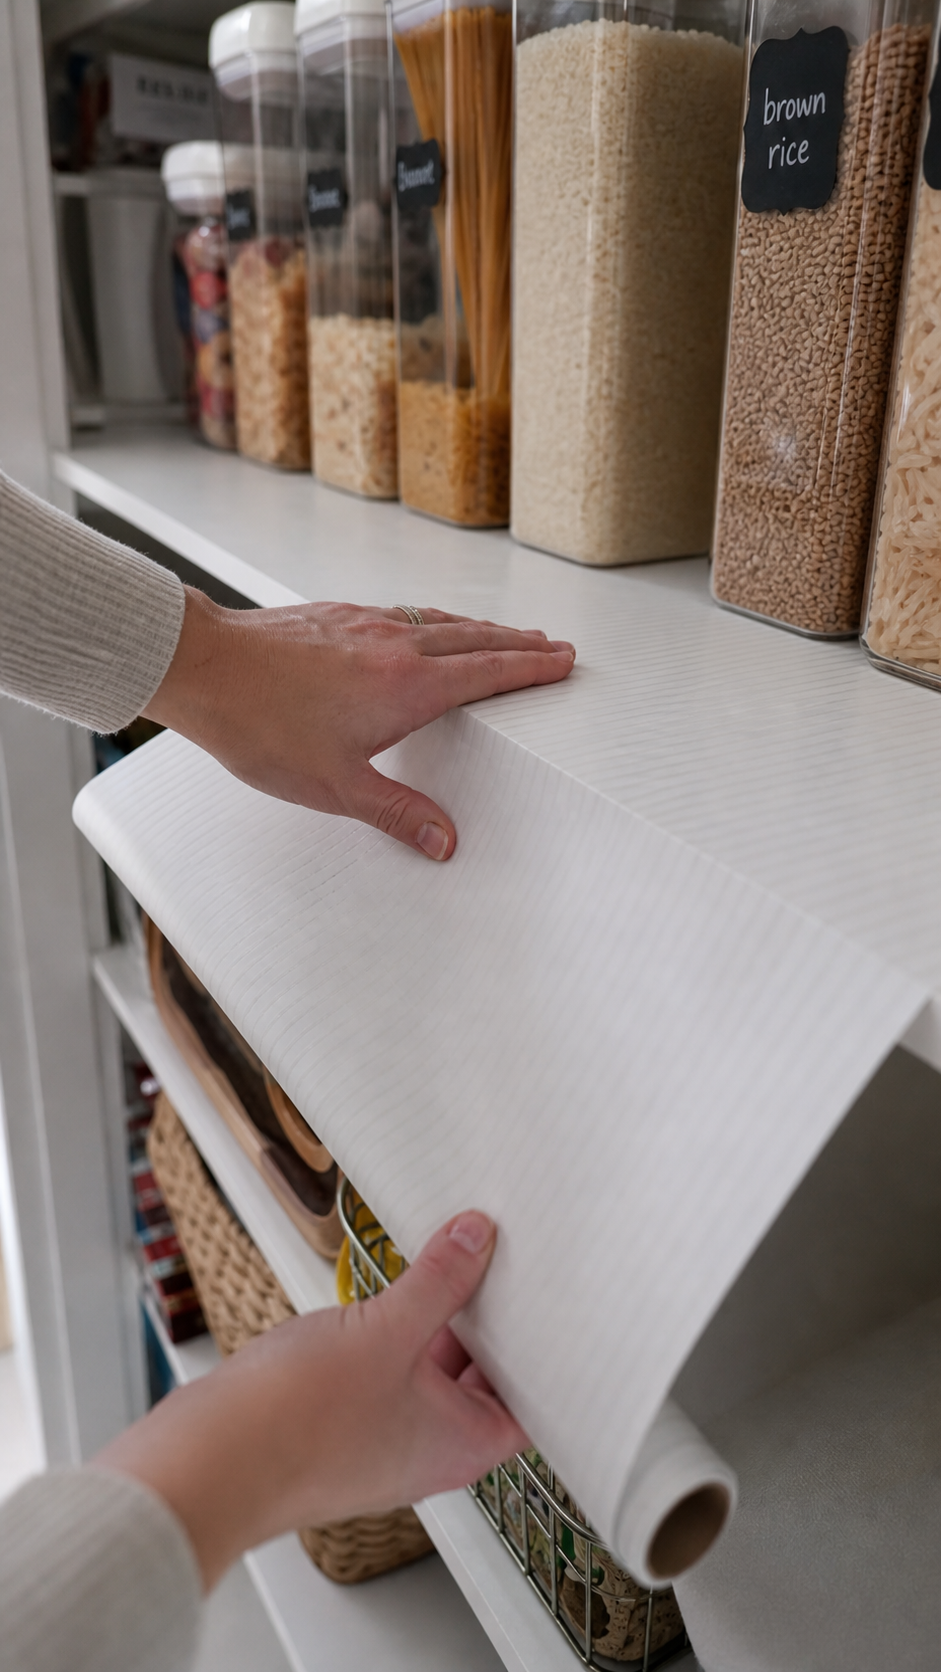
Budget about $10-$15 for a roll and an afternoon for the project. Go slow on the corners.
Decant Your Snacks (Even the Weird Ones)
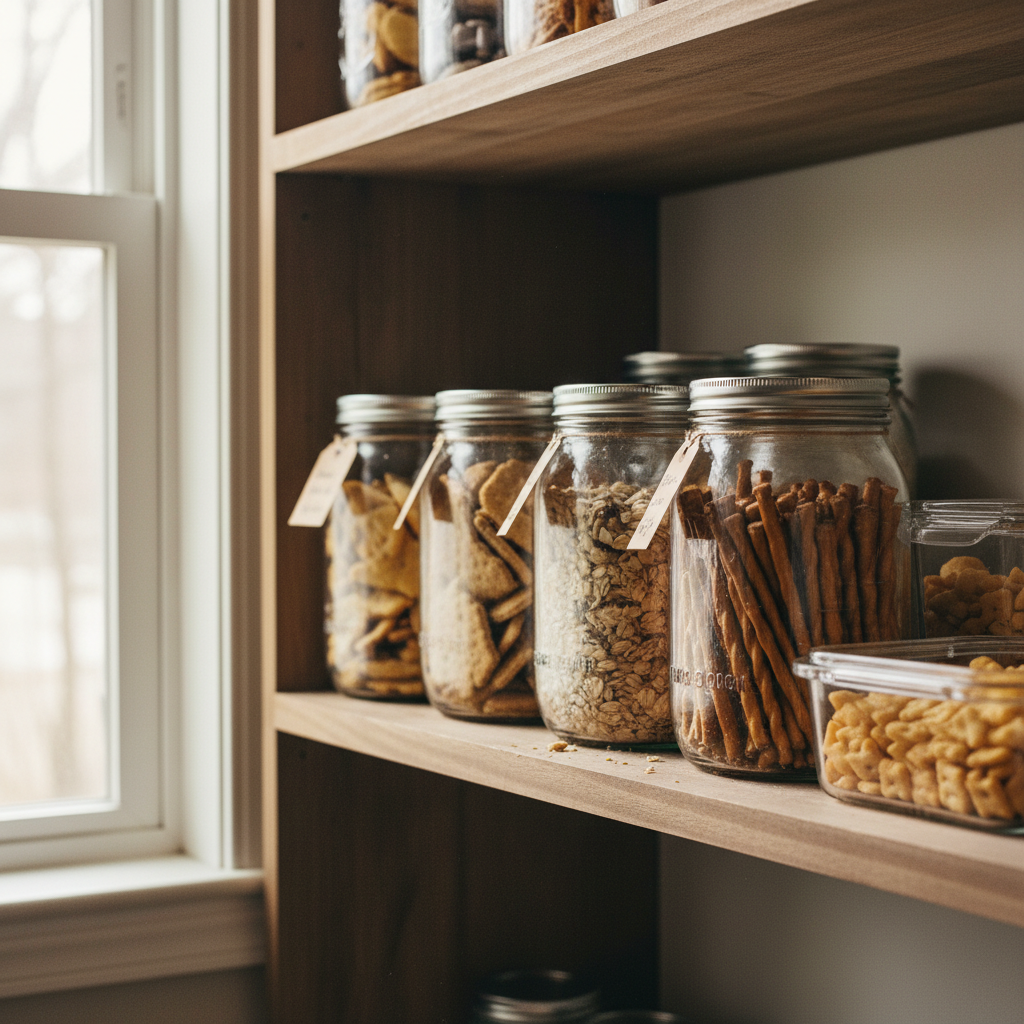
I know. It sounds high-maintenance. But hear me out.
Putting crackers, pretzels, granola, and even chips into clear containers or wide-mouth mason jars doesn’t just look good — it keeps things fresher and makes it so much easier to see when you’re running out.
I keep a small basket with a few chip clips and a marker nearby for anything I can’t fully decant. Still looks tidy, still accessible.
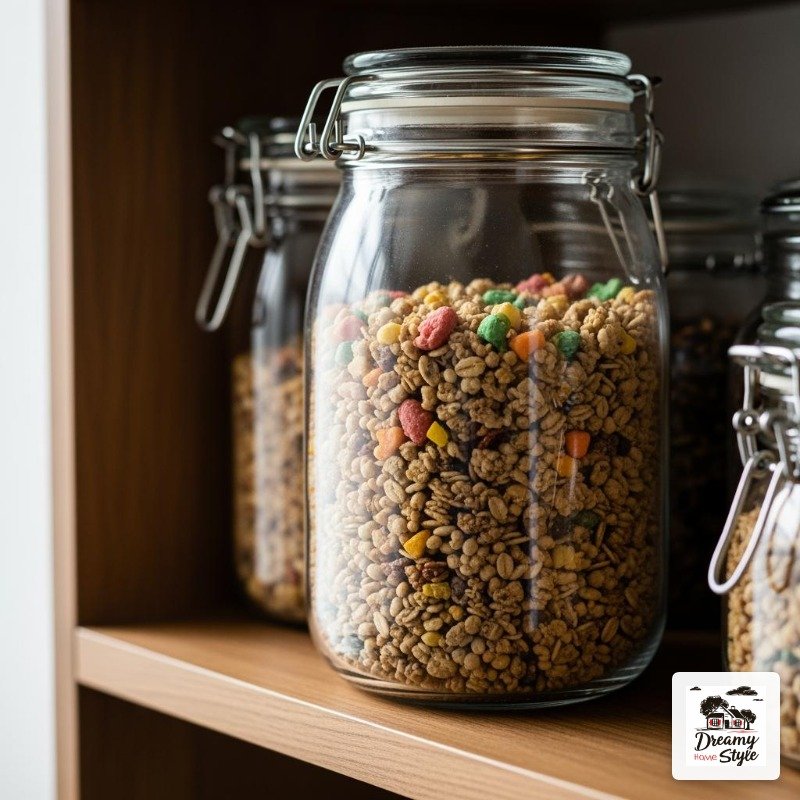
Not every snack needs its own container. I’m not that person. But the things you reach for every single day? Worth the two minutes it takes to pour them in.
Risers for Cans and Jars
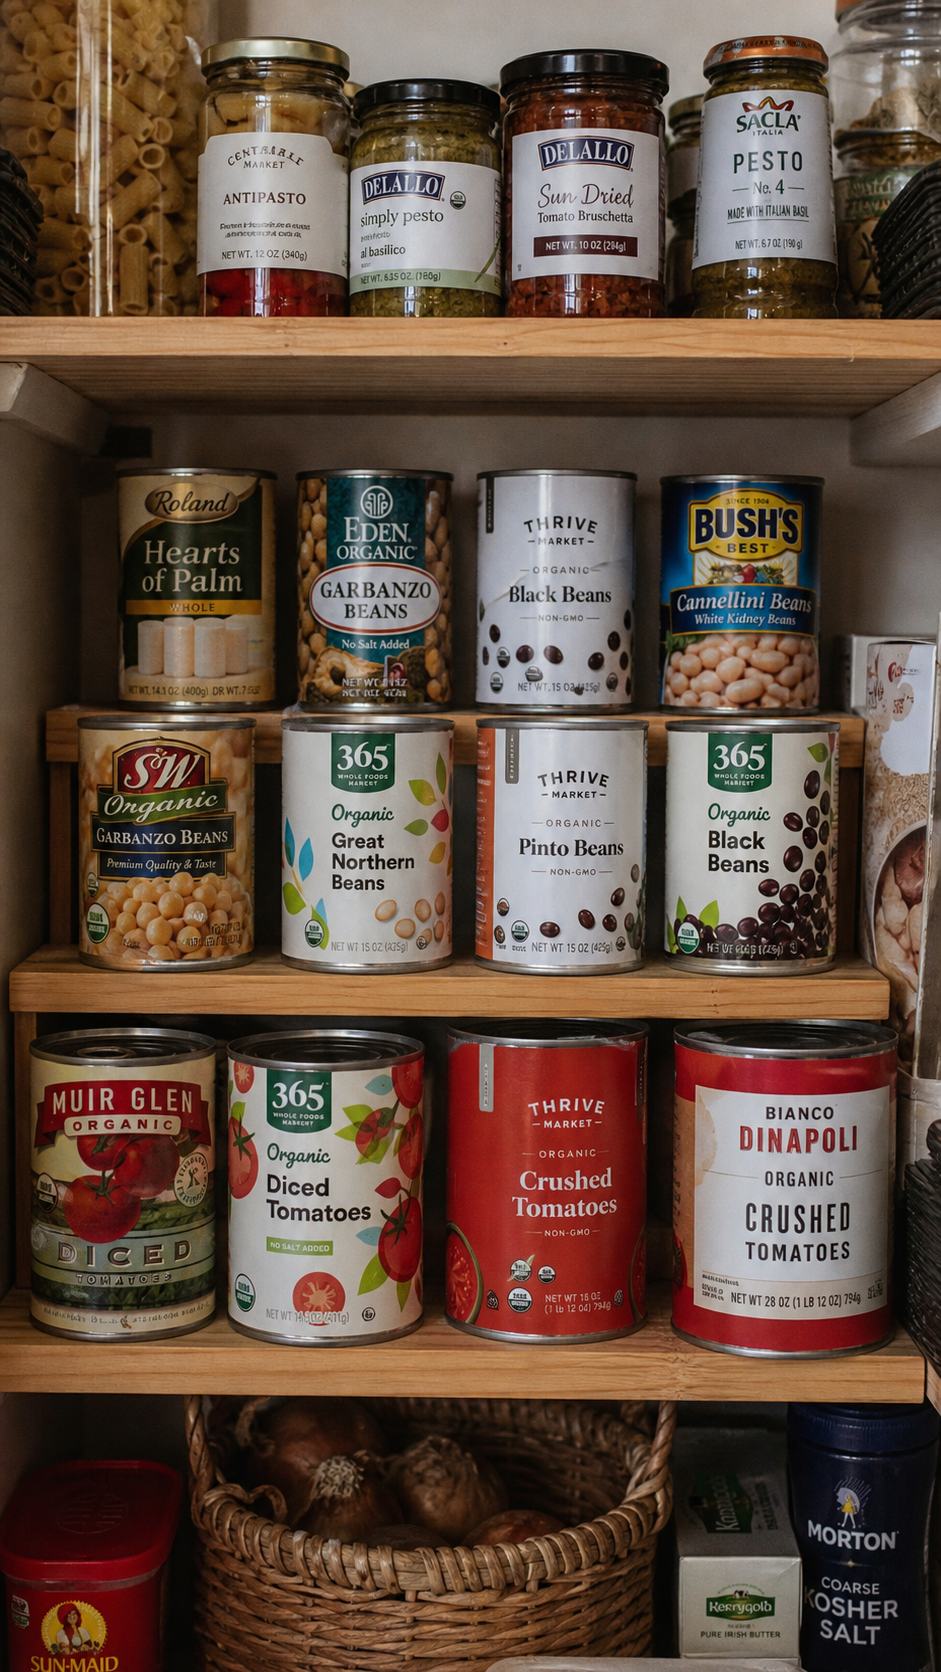
Stacking cans two rows deep on a flat shelf means the back row doesn’t exist in your brain. It just disappears and you buy duplicates forever.
Tiered shelf risers (the kind that look like stadium seating) let you see every can at once. I bought a bamboo set for about $22 at Target and use it for canned tomatoes, beans, and coconut milk.
You can also DIY this super easily with a piece of wood cut at an angle, if you’re handy. I’m not particularly handy so I just bought the bamboo ones.
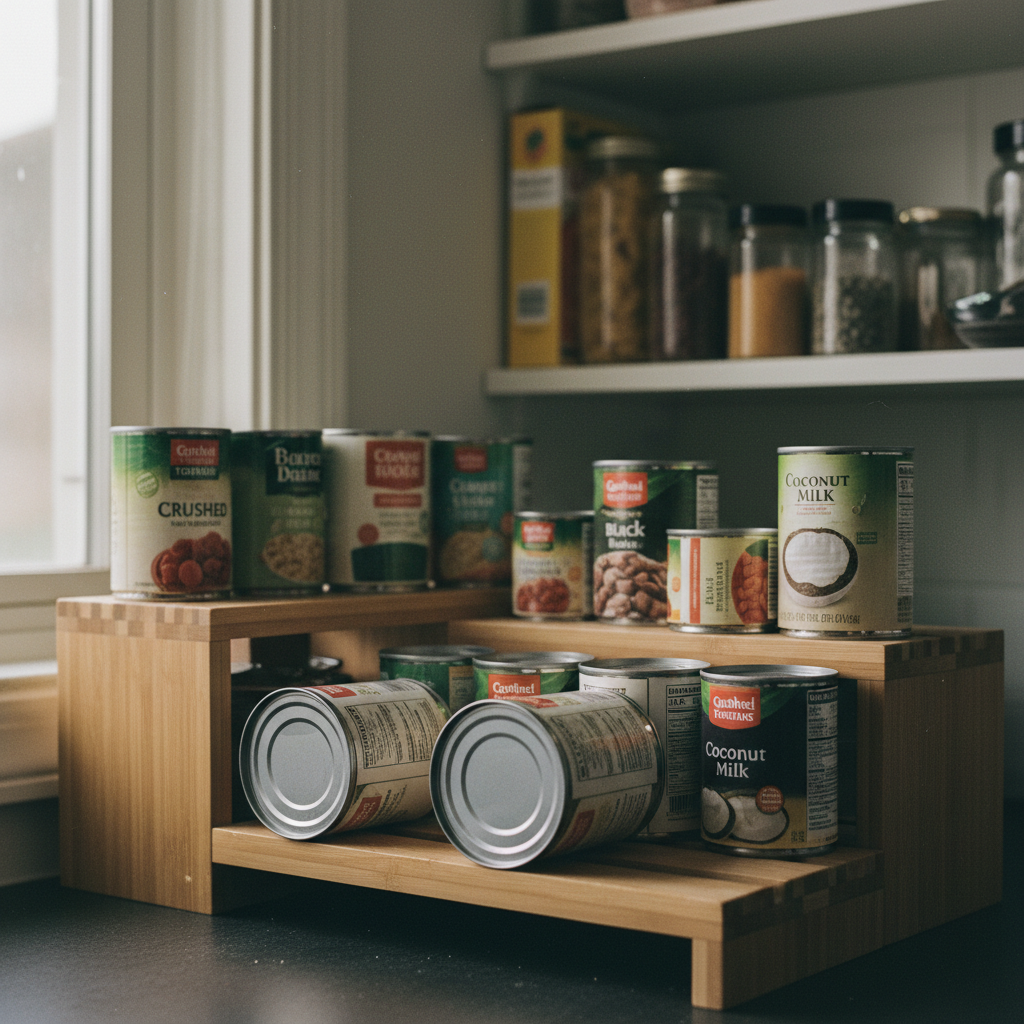
It’s one of those changes that makes me feel weirdly proud every time I open the pantry door. Small thing, big difference.
Group by Category, Not by Size
 Group by Category, Not by Size” />
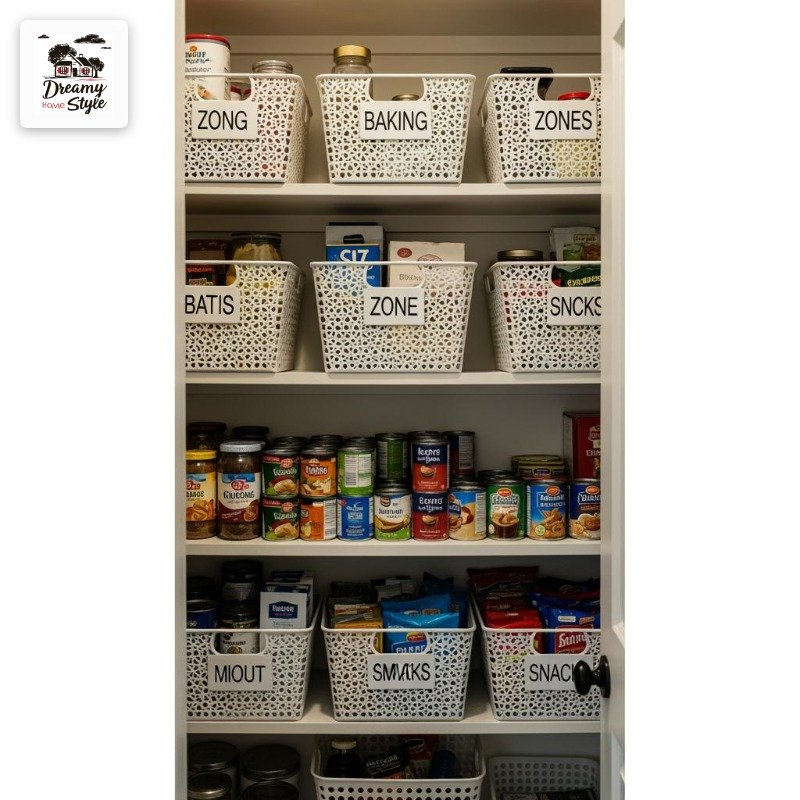
This shifted everything for me. I used to organize by height because it looked more symmetrical, and it was completely useless in practice.
Now I have zones: a baking zone, a breakfast zone, a canned goods zone, a pasta and grains zone. Everything in that category lives together regardless of how it looks next to its neighbors.
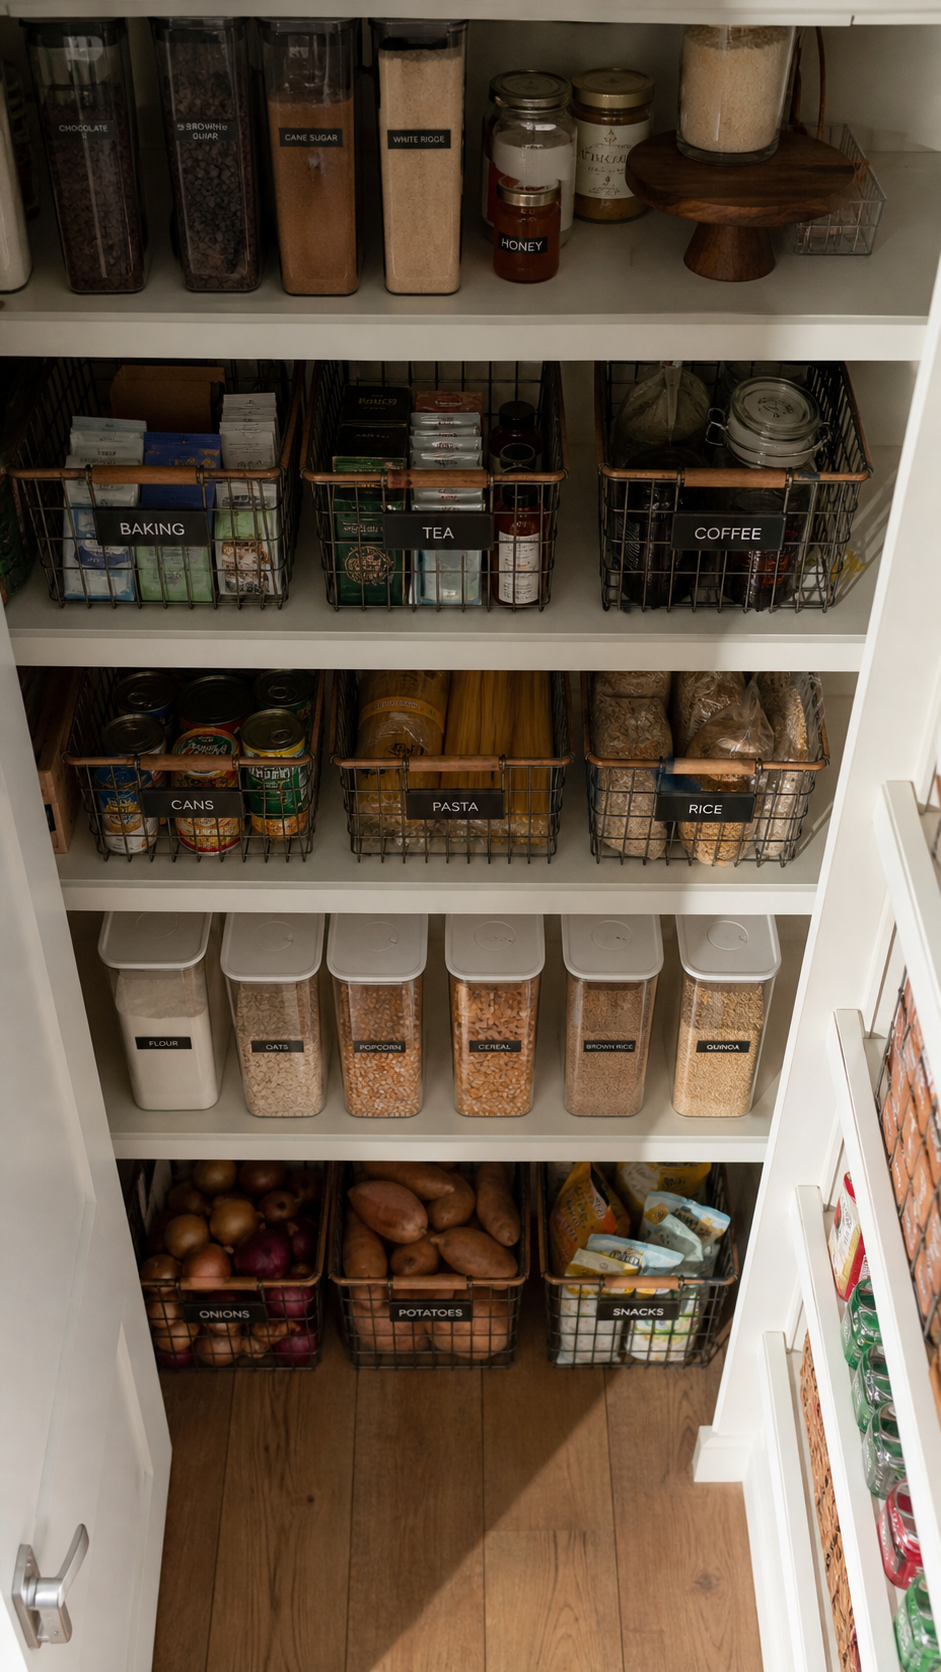
It does make grocery restocking about three times faster. You know exactly where to look, every single time.
Some people do a ‘dinner kit’ zone too — proteins, sauces, and grains that go together all in one basket. I’ve been meaning to try this properly and haven’t yet, but the concept is smart.
Mason Jars Are Classic for a Reason
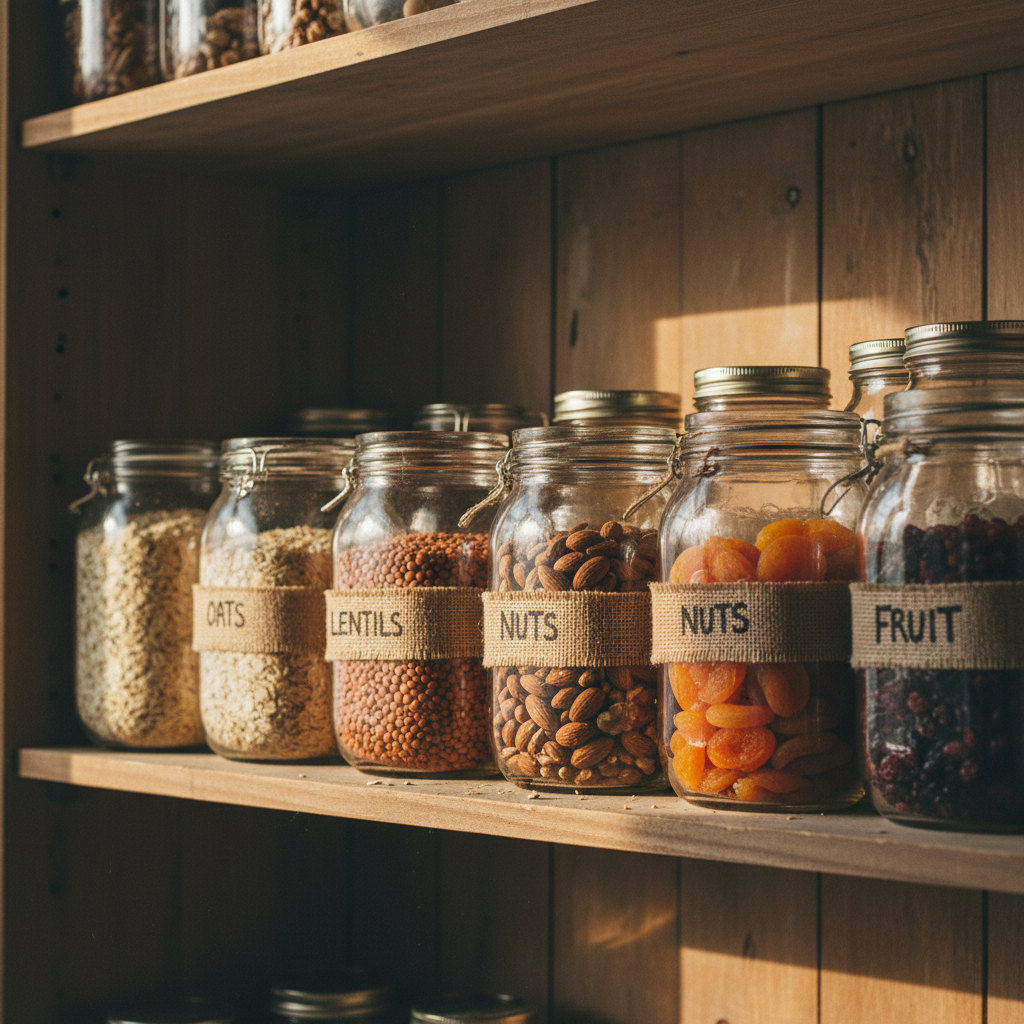
I know they’re everywhere and maybe they feel overdone, but wide-mouth Ball mason jars are genuinely the best budget container option out there. A twelve-pack is under $15.
I use them for oats, dried lentils, nuts, dried fruit, and even coffee beans. They seal well, they’re easy to clean, and they look beautiful lined up on a shelf.
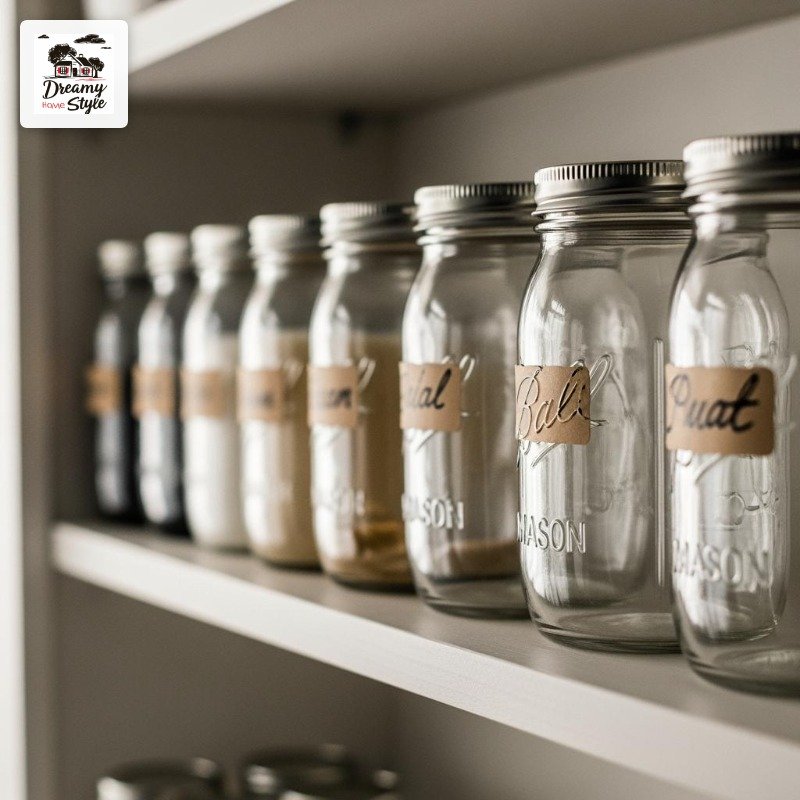
The uniform look of all mason jars, even mixed sizes, makes a pantry feel intentional and calm. It’s that simple repetition that reads as ‘magazine.’
One tip: put a small piece of masking tape on the lid in pencil for contents and the date you filled it. Nothing fancy.
A Small Chalkboard or Whiteboard on the Wall
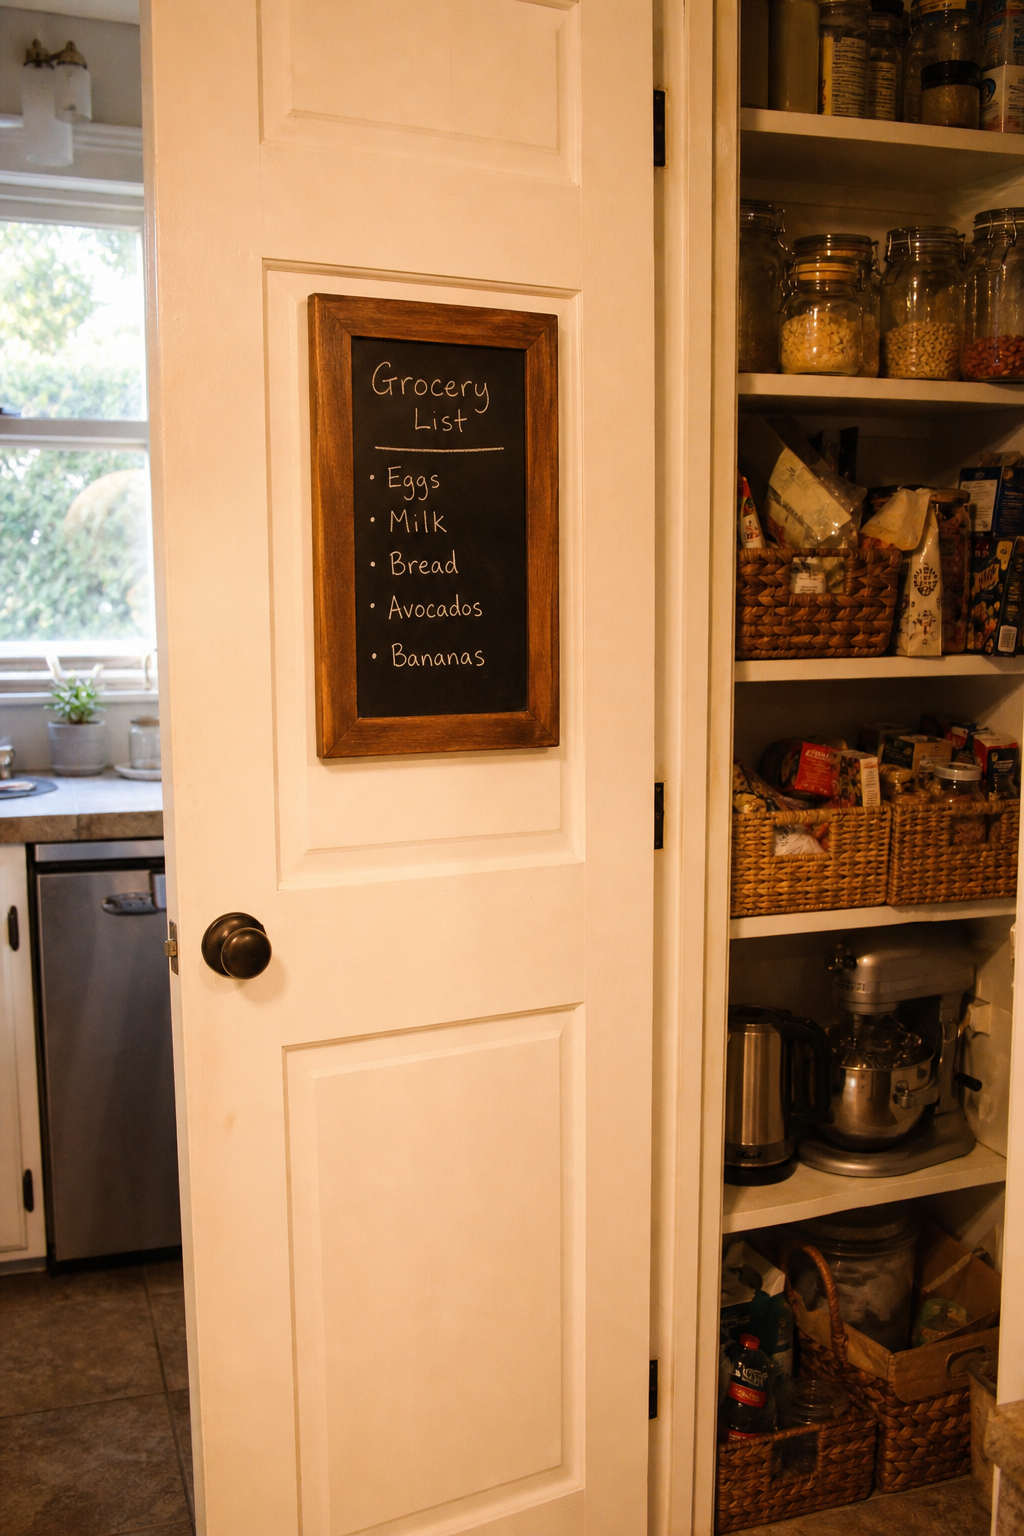
This one is sort of practical and sort of decorative at the same time, which I love.
A small chalkboard mounted inside the pantry for a running grocery list is so useful it almost feels like cheating. When you use something up, you write it down. No more staring at the pantry trying to remember what you needed.
I found a cute little framed chalkboard at a thrift store for $4 and stuck a small Command strip hook on the inside wall. Very low commitment.
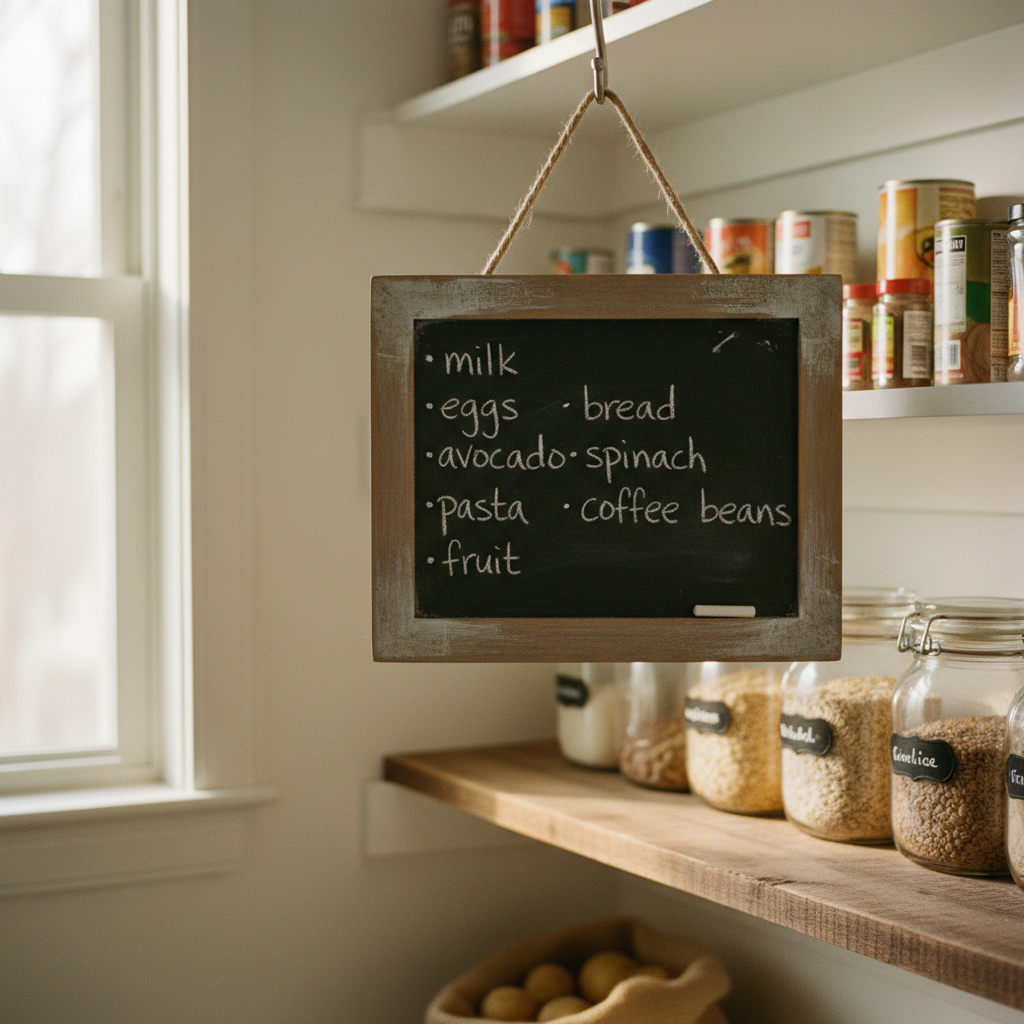
It also just looks sweet. A little lived-in. It makes the pantry feel like a real working part of the home instead of a storage closet trying to be pretty.
Stack Bins Vertically for Awkward Tall Items
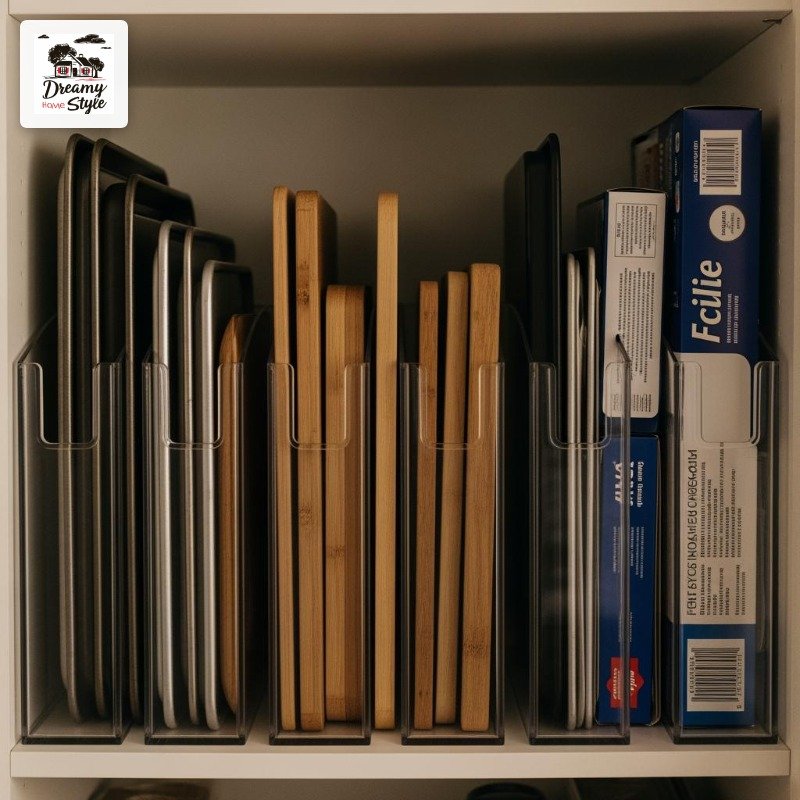
Tall, thin items are the hardest to store neatly. Boxes of spaghetti, rolls of parchment paper, baking trays you shoved in there sideways.
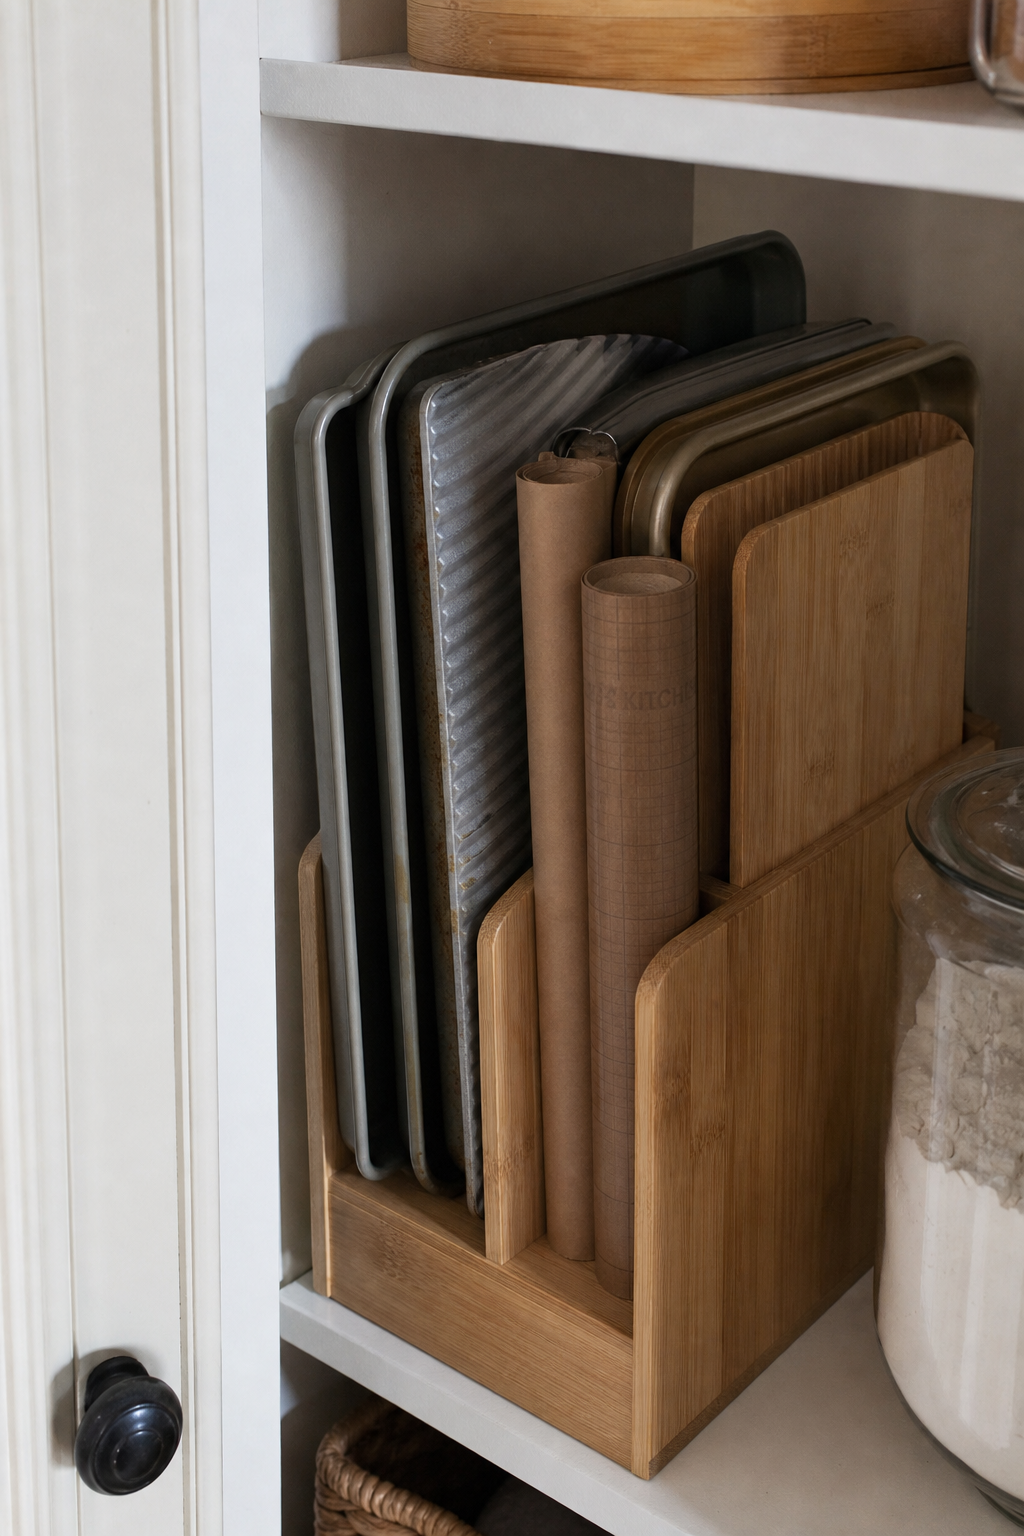
Vertical file organizers (yes, like the ones for papers) are perfect for this. I store sheet pans, cutting boards, and cooling racks vertically in one slot and it freed up so much horizontal space.
Acrylic ones look very sleek. Bamboo ones are warmer. Both work fine.
This also applies to wraps and foil boxes. A tall narrow bin keeps them upright and accessible instead of falling over every time you open the door. Which was happening constantly at my house.
Lighting Makes or Breaks the Whole Thing
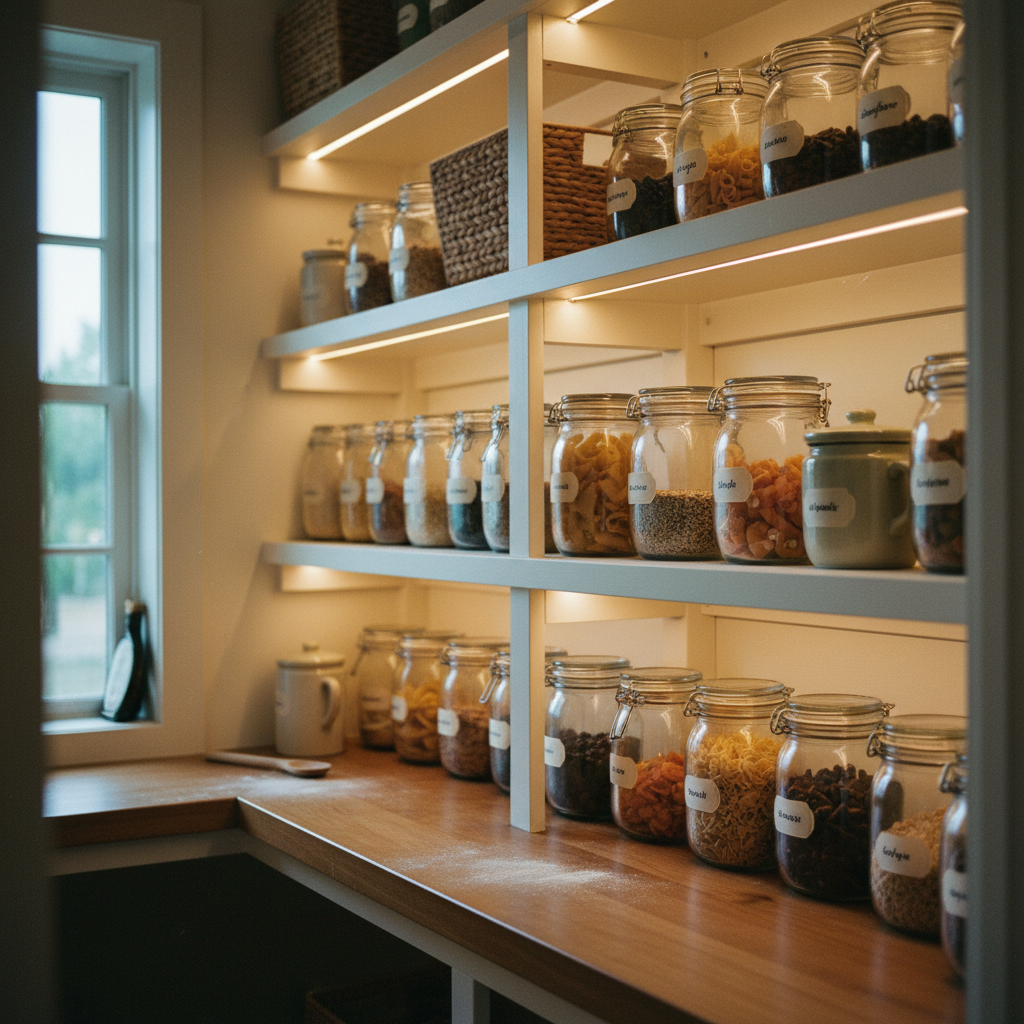
Overhead lighting in a pantry is usually one dim bulb from 1987 and it makes everything look dingy no matter how organized it is. This is my hill and I’m standing on it.
Battery-operated LED puck lights stuck to the underside of shelves are a complete game changer (sorry, I know I said I wouldn’t say that, but I truly mean it here). Warm white. Not cool white. Warm.
I have four of them in my pantry and when I open that door the whole thing glows and looks genuinely beautiful. It cost about $22 total.
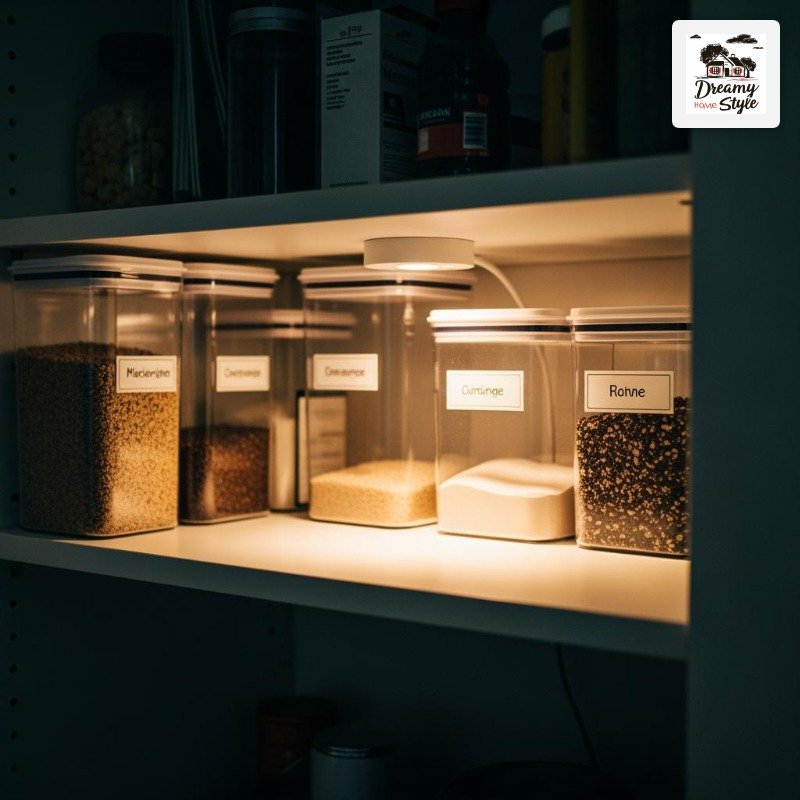
Good light in a pantry also makes you more likely to keep it tidy, for some reason. It just feels worth the effort when the space looks good.
A Designated Snack Basket for Kids (or Just Yourself)
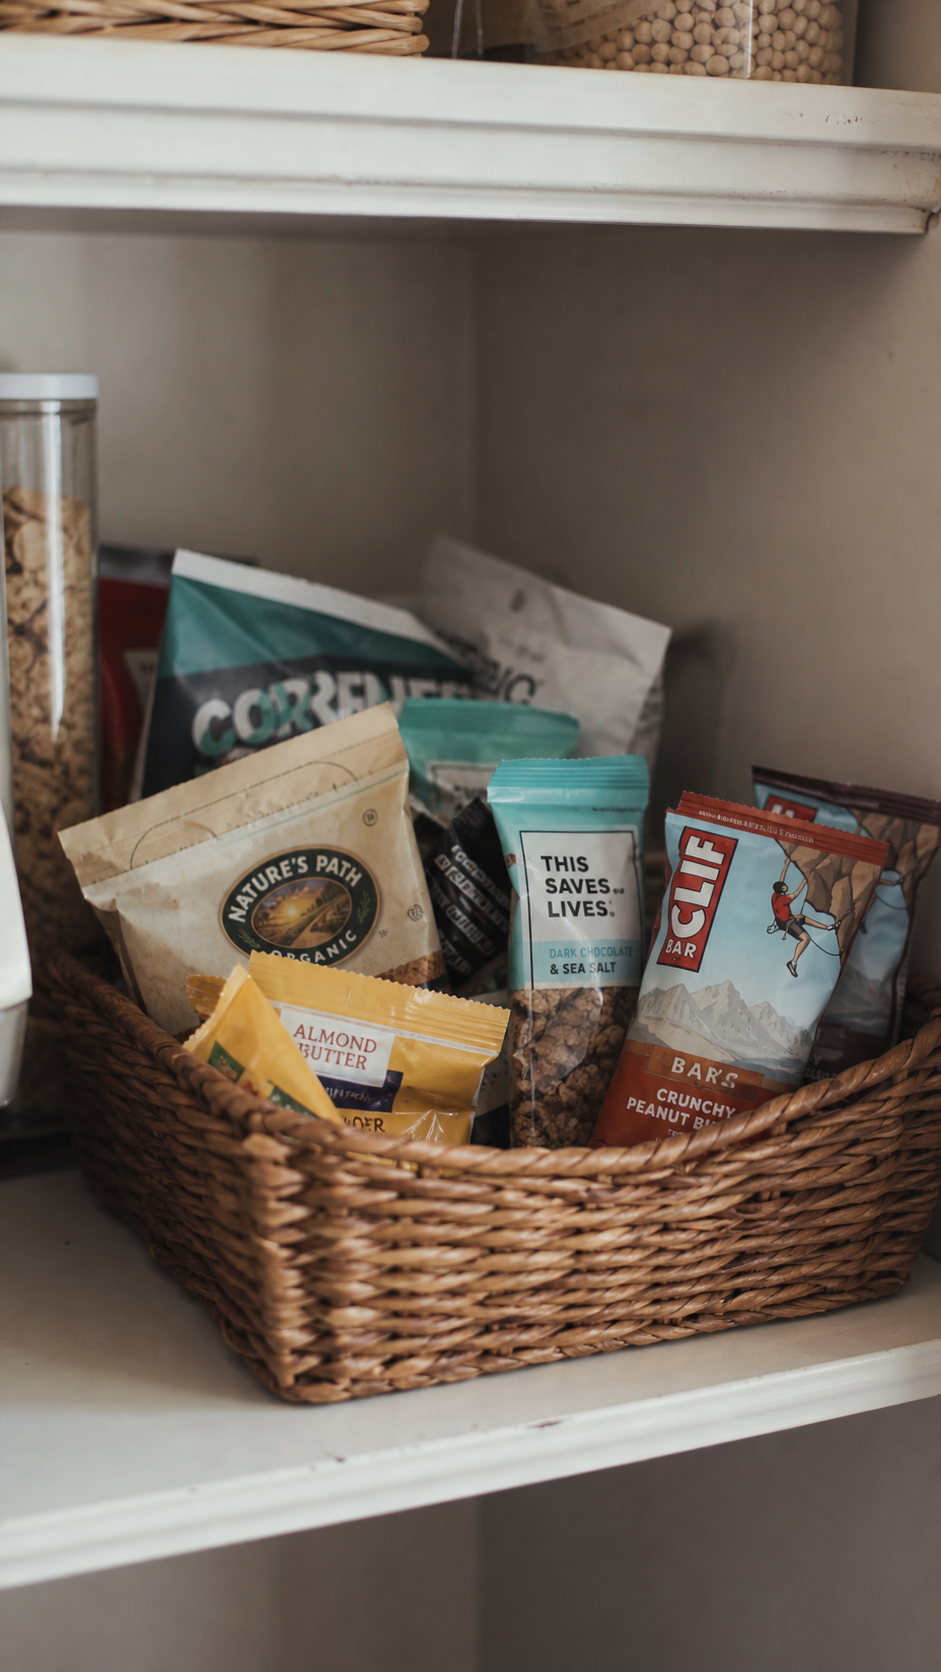
This idea sounds a little silly but it has genuinely reduced stress in my house.
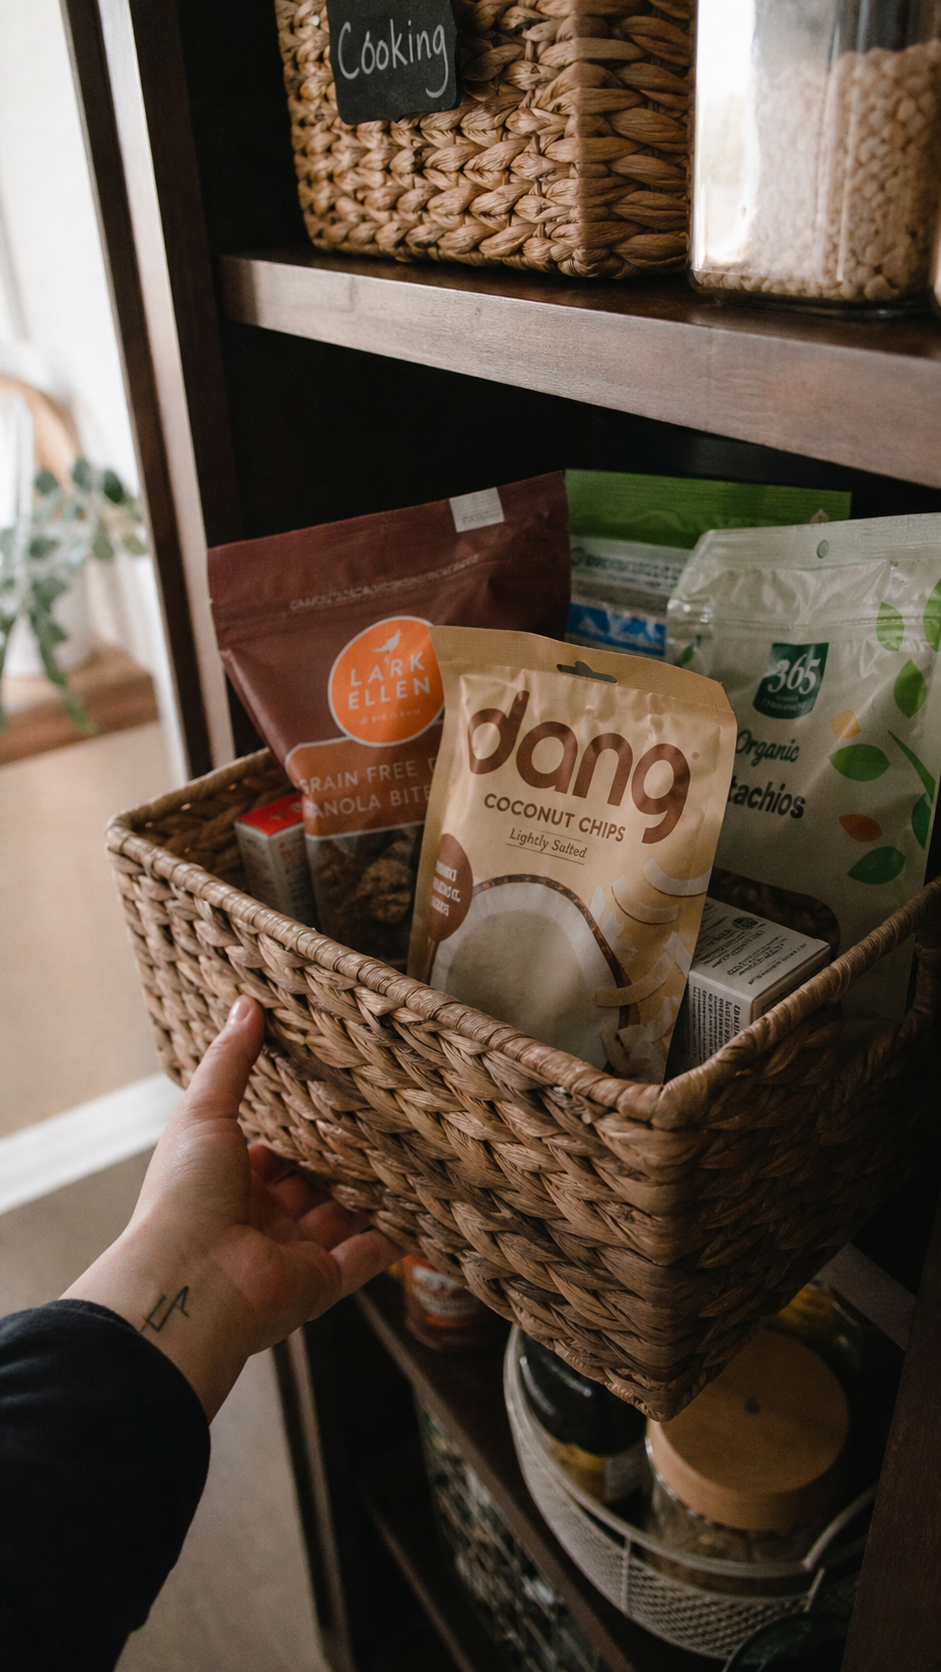
I have one low basket in my pantry that is the ‘grab freely’ basket. Granola bars, individual chip bags, fruit pouches, those little cheese crackers. Everything in that basket is fair game, no asking, no thinking.
It keeps people (me, honestly, mostly me) from rummaging through organized shelves looking for something to snack on and ruining everything I worked to tidy.
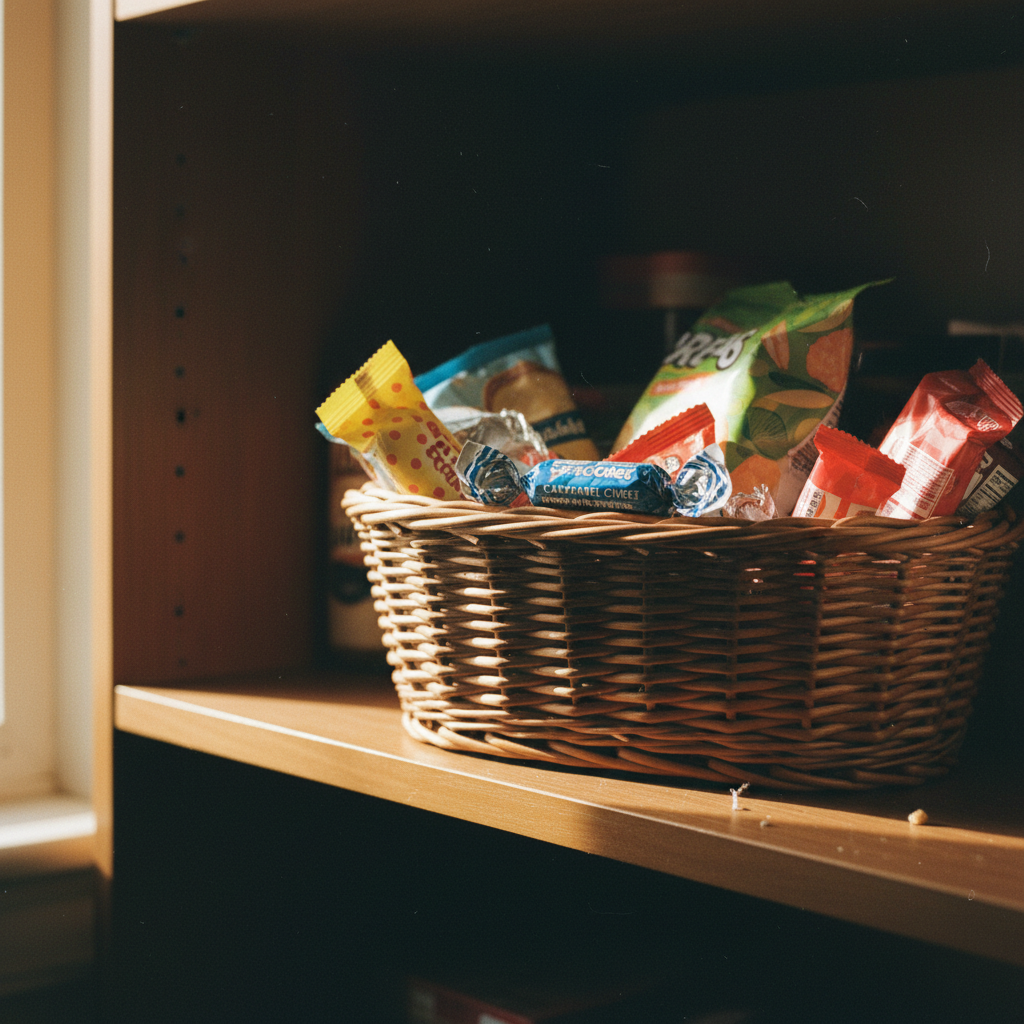
It also just looks really cute. A wicker basket overflowing slightly with snacks has a warm, full-of-life feeling that I really love in a pantry.
Use the Floor Space (Seriously)
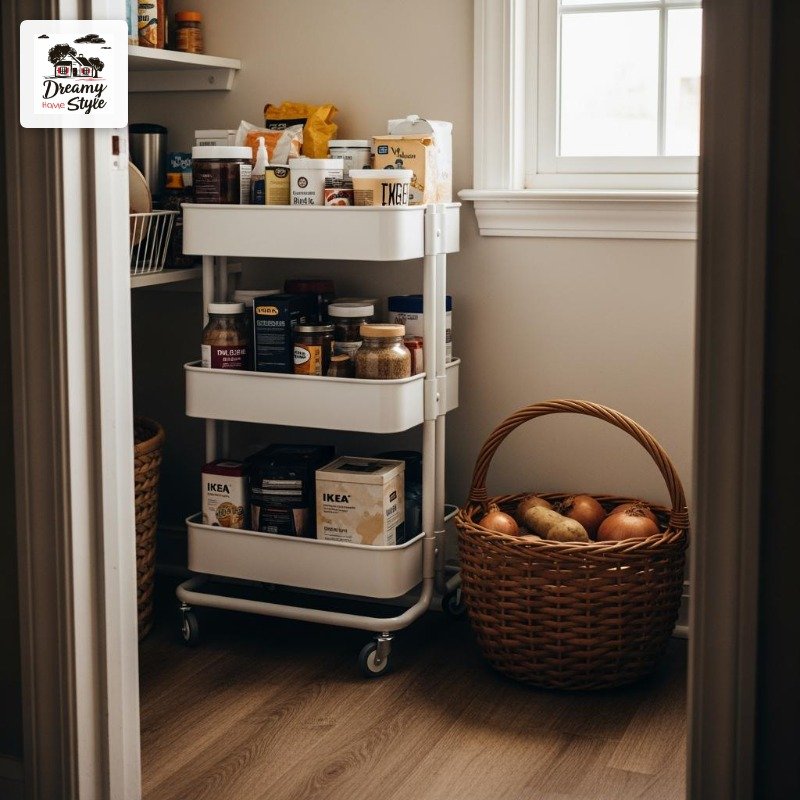
If your pantry has floor space, it’s storage you’re probably not using well.
A small rolling cart down there is incredible for bulk items, pet food, extra paper towels, that giant bag of rice you bought at Costco. I have a little white three-tier rolling cart from IKEA and it pulls right out when I need it.
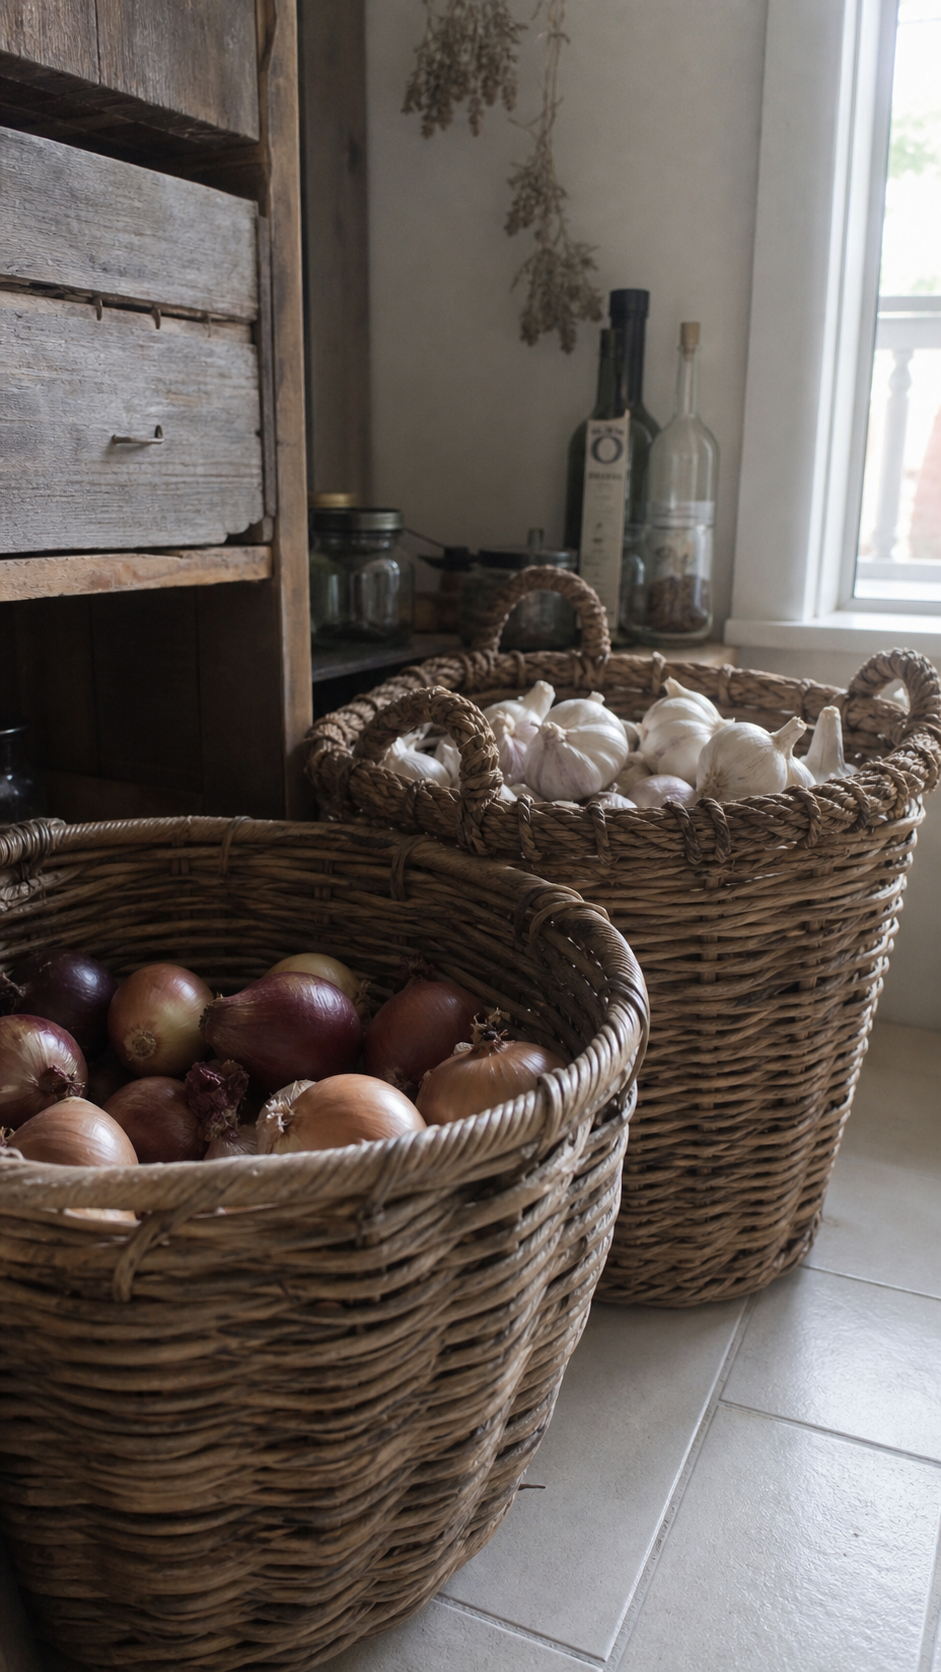
Large baskets on the floor for bulk produce (onions, potatoes, garlic) also look really beautiful and very farmhouse. It’s functional and genuinely pretty.
Just make sure there’s breathing room around produce. Potatoes especially need air circulation or they go bad fast. Discovered that in the least fun way possible.
A Color Palette Makes It Feel Designed
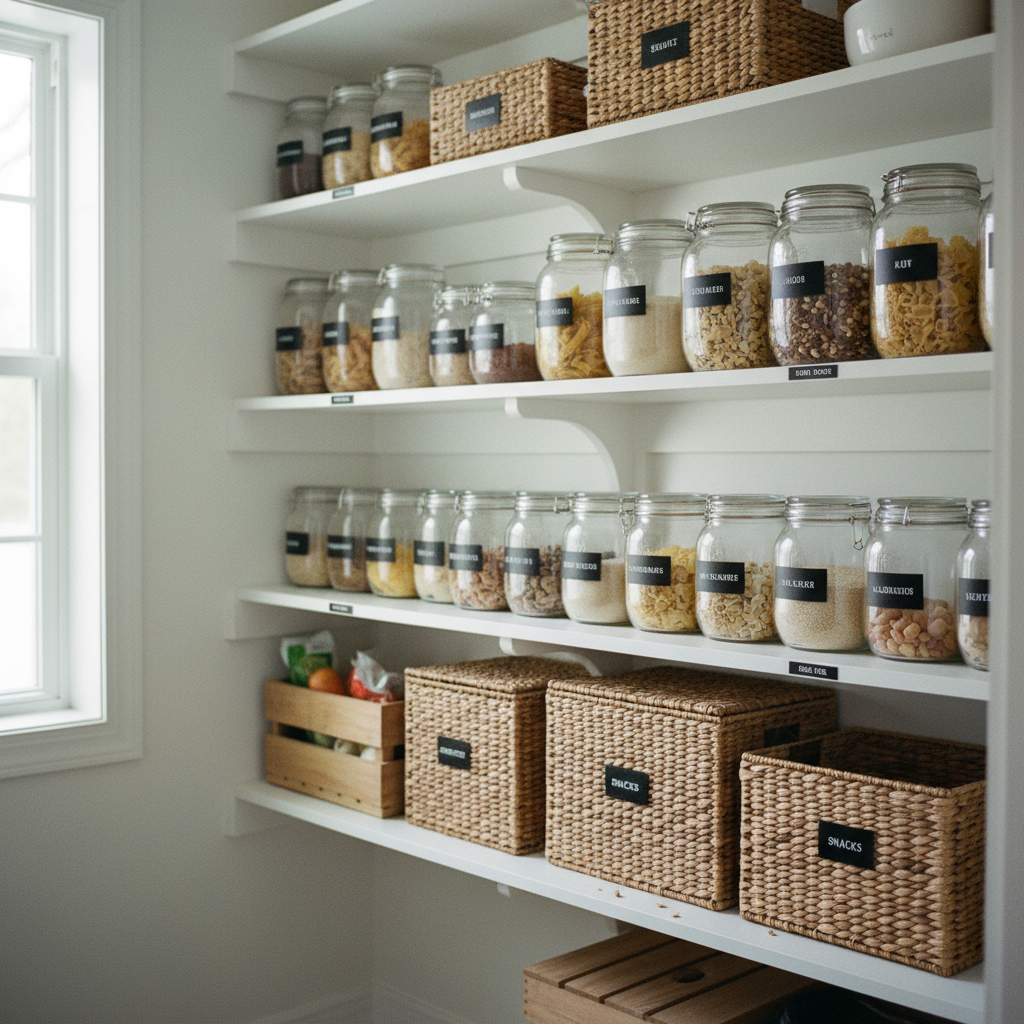
This is the one nobody talks about and I think it’s one of the most important.
When your containers, baskets, and labels all follow a loose color palette, the whole pantry reads as intentional. Mine is white, natural wood tones, and black labels. That’s it. That’s the whole system.
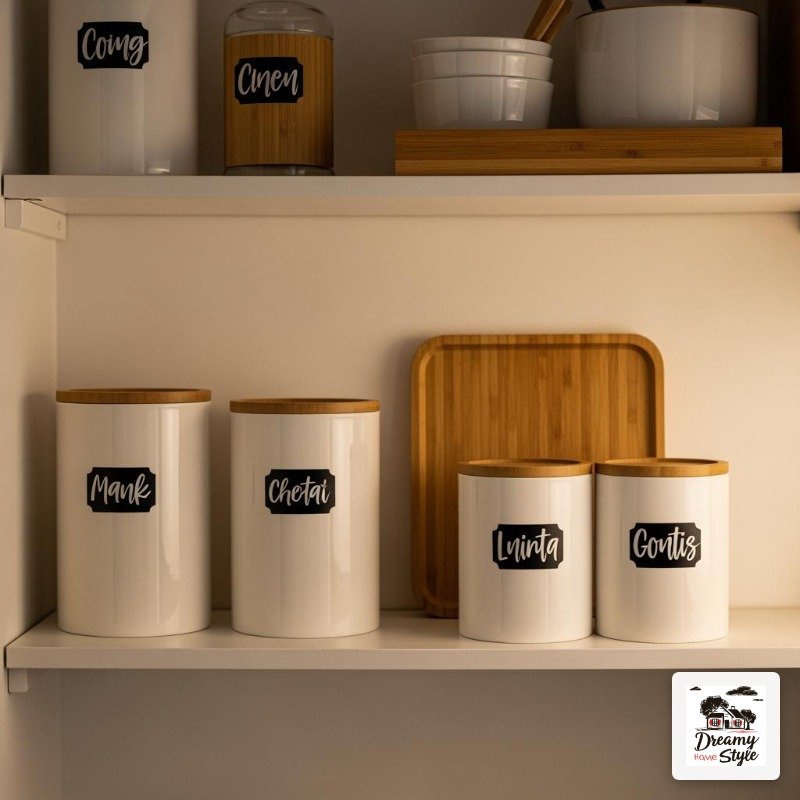
It doesn’t mean everything has to match perfectly. It just means you’re not mixing bright red plastic bins with pastel blue containers and a random green basket.
Even if your pantry is a little messy by the end of the week, a cohesive palette makes it look deliberately styled rather than random. It’s honestly the fastest visual upgrade you can make.
Add One Small Decorative Moment
A fully utilitarian pantry is fine. But a small decorative touch is what tips it into ‘magazine-worthy.’
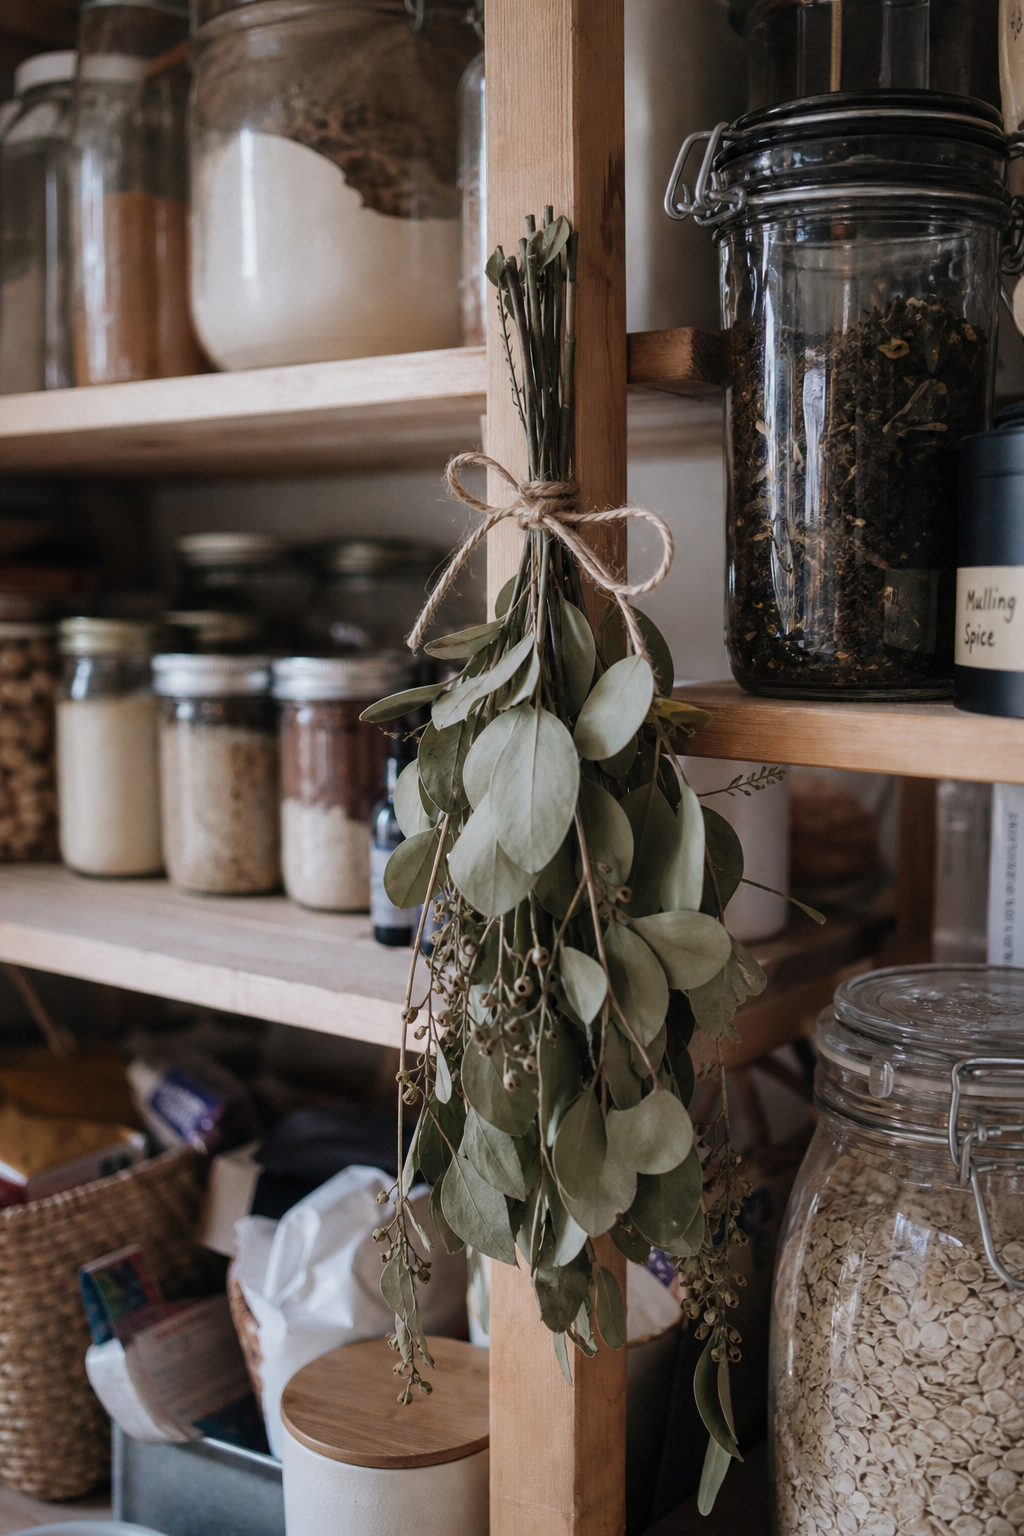
Mine has a tiny dried eucalyptus bundle zip-tied to one of the shelf uprights. Costs nothing, smells faintly good, looks like something you’d see in a Pinterest photo. I love it so much it’s sort of embarrassing.
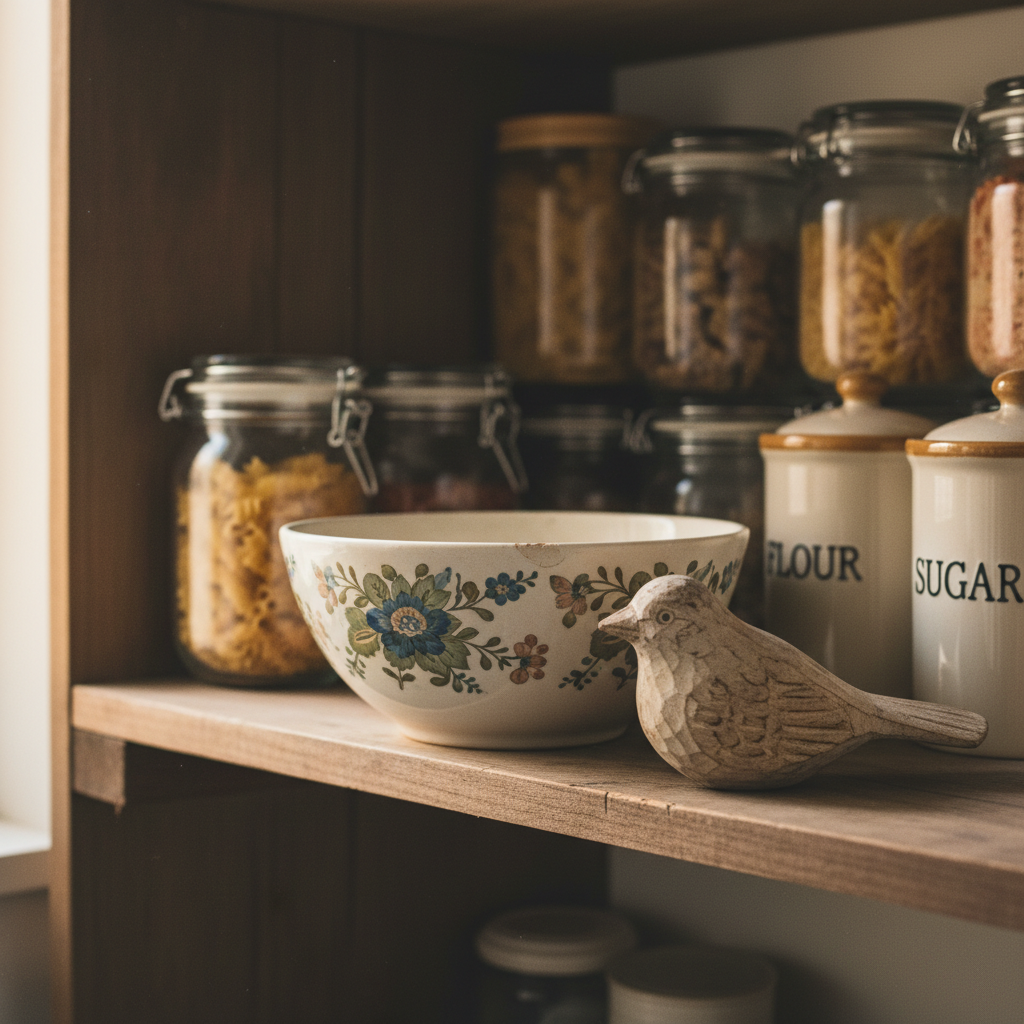
A small ceramic bowl for odds and ends, a little wooden sign, even just a pretty vintage tin from the thrift store used as a utensil holder — these things make the space feel loved and personal.
It doesn’t have to be much. One thing. A pantry that looks like someone cares about it feels so different from one that’s just storage with a door on it.