The Real Reason Fence Painting Takes All Weekend
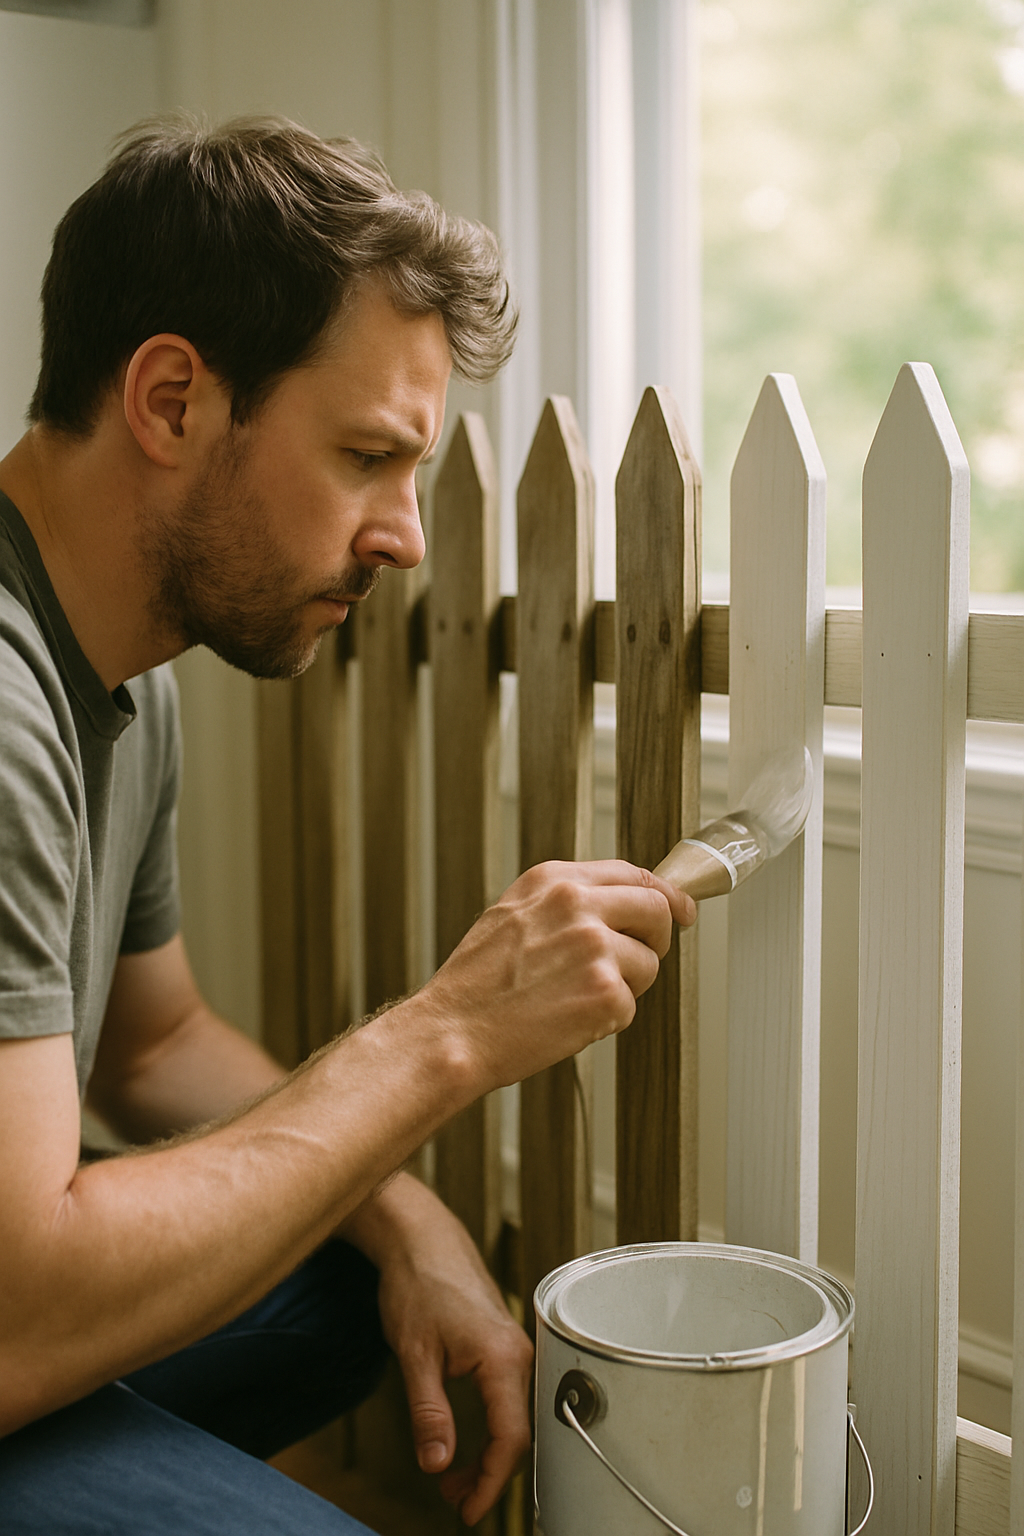
Last summer I finished my cedar picket fence in one afternoon. The summer before that, it ate my entire weekend. Same fence. Same paint. I just did it in a different order.
The thing nobody tells you is that fence painting isn’t slow because of brushwork. It’s slow because of waiting — and most of that waiting is self-inflicted. You wash the fence in the morning, realize it’s still damp by noon, try to paint anyway, watch the paint bubble, and spend the rest of the day fixing it. Or you paint the section nearest the gate first because it’s the most visible, and then you’re stepping through wet paint every time you need to grab a tool from the garage. Every. Single. Time.
Here’s the math that reframed this for me: a prepped 6-foot privacy fence panel takes about 12 minutes to paint. That’s it. So if a 50-foot fence is taking you 8 hours, you’re not painting slowly. You’re spending most of that time on transitions, backtracking, fixing contamination you caused yourself.
Sprayers get all the credit for speed and honestly it’s not entirely deserved. A poorly sequenced sprayer job is slower than a well-planned roller job. The equipment is not the bottleneck. The schedule is.
One more thing most guides casually blow past: wood needs 24 to 48 hours to dry after washing before paint will actually adhere. Not “looks dry.” Bone dry. If you’re planning to wash Thursday morning and paint Thursday afternoon, that’s a plan that works in Phoenix and fails in most of the country from April through September. Prep and painting are not the same-day phase most guides treat them as. They’re two separate days, minimum.
And recoat windows matter too. Latex paint needs 4 hours between coats at 70°F. Oil-based needs 24 hours. If you start your first coat late and miss the recoat window, you’re waiting until tomorrow. Your whole schedule just collapsed.
Map Your Fence Before You Touch a Single Tool
Five minutes of zone-mapping is worth more than any expensive brush or sprayer attachment sold as a time-saver. I’m not being dramatic. This one thing cut my repaint day in half.
Walk the whole fence. I mean actually walk it with a notepad or your phone. Look for which sections are shaded in the morning, which ones get direct afternoon sun, where the gates are, what’s close to garden beds, and where foot traffic naturally flows. My house sits so that the back fence runs east-west — the north-facing side stays shaded until almost noon, which changes everything about sequencing. Then divide it into 10-foot working zones and mark them with painter’s tape flags. Cheap flagging tape from the hardware store works fine. You’re not decorating, you’re building a sequence.
The zone order matters because of two things: wet paint placement and heat. You want to paint in a direction that puts wet sections away from any path you’ll walk repeatedly. And you want to schedule sun-facing panels last, because direct afternoon sun above 90°F causes blistering. The paint skins over before the solvents underneath can escape. I found this out on the west-facing side of my fence, which I painted at 1 PM on a July afternoon. It looked fine for about a week and then started to look like a topographic map.
The mistake people make — and it feels completely logical — is starting with the most visible section. Usually near the gate or facing the street. But that traps you. You’ll need to access that gate 15 times during the day, and now it’s wet.
Pressure Washing Is Not Optional, But Timing It Wrong Ruins Your Schedule
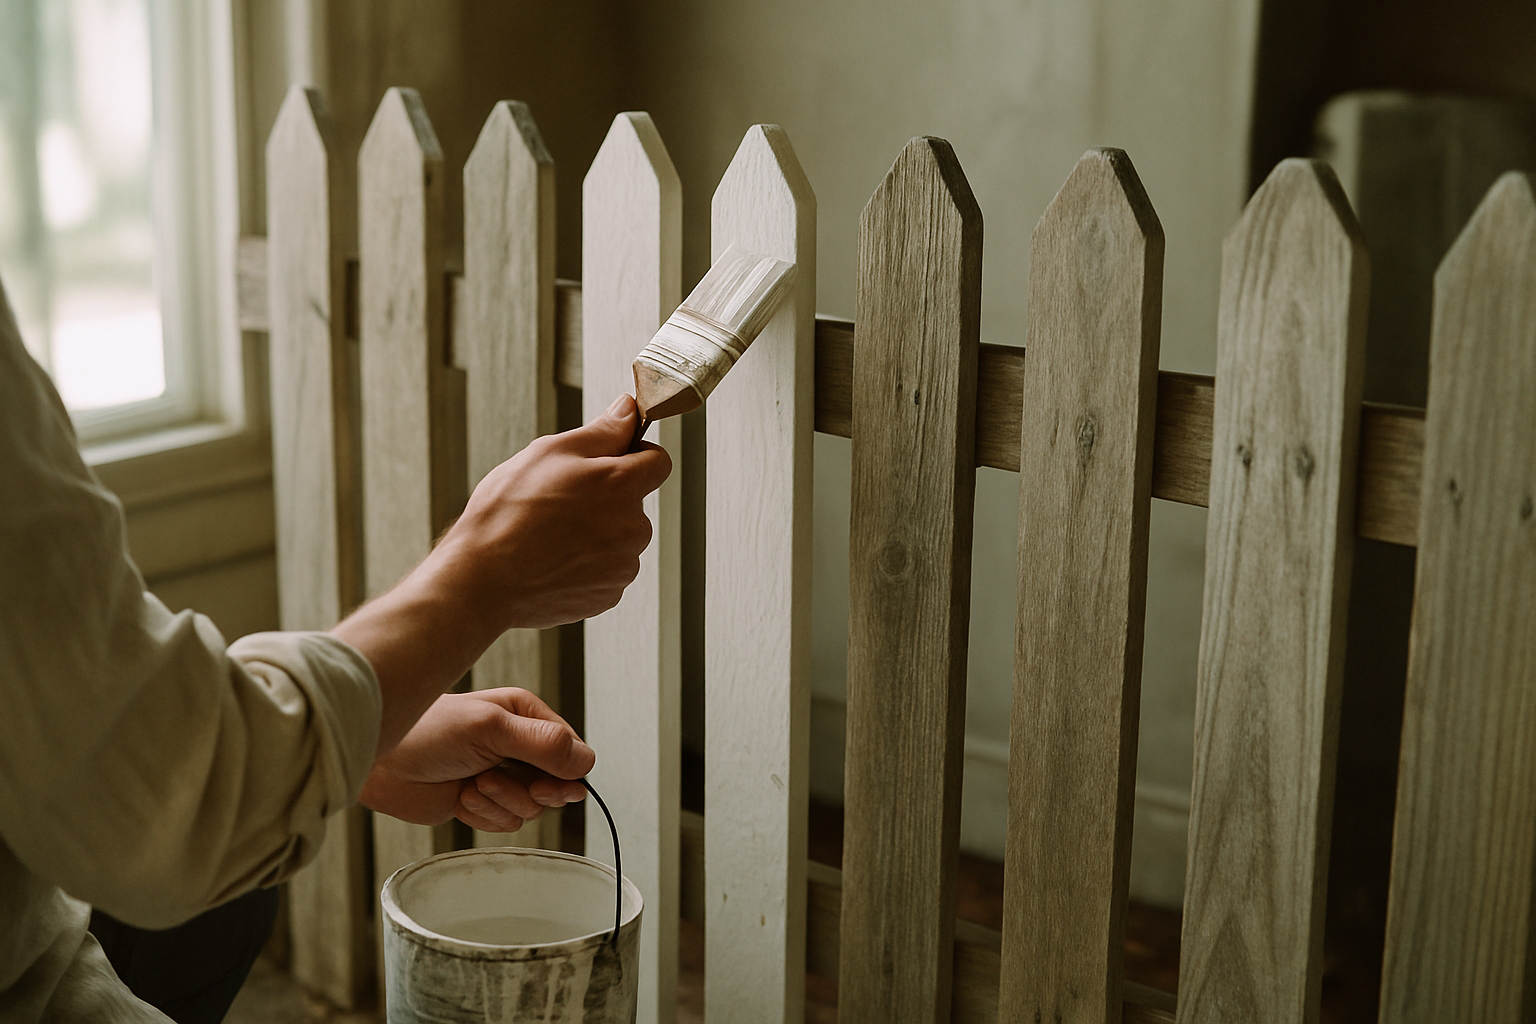
Washing the day before painting is the single biggest schedule fix in this whole process. Not two days before, not the morning of. The day before.
You need to pressure wash wood fences at 1500 to 2000 PSI. Lower than that and you’re not actually pulling out the gray oxidized wood fibers and old chalky paint. You’re just getting the surface dirt. I borrowed my neighbor’s Ryobi electric unit (around $150 new) before I bought my own. If you only paint fences every few years, borrow one. Don’t buy it.
Drying time after washing depends on the wood species. Cedar and redwood are dense and need 48 hours. Pine needs 24 hours minimum, but only if humidity is at 50% or less. In August in the mid-Atlantic? Plan for 48 hours for pine too, honestly. The surface will feel dry to the touch well before the wood has actually dried through. Moisture trapped inside the boards will push the paint off from underneath, and you’ll be repainting inside of one season. (I learned this the expensive way. First cedar repaint. It was peeling by the following spring.)
Anyone who tells you to wash in the morning and paint in the afternoon is giving advice that only works in desert climates. That guidance fails in most of the US from April through September when ambient humidity sits high. It’s not a bad tip. It’s an incomplete one, and it’ll cost you a full repaint if you follow it in the wrong zip code.
Sprayer vs. Roller vs. Brush: The Honest Trade-Off
Real numbers first, because “sprayers are faster” is only half a sentence.
An airless sprayer covers 200 square feet in about 10 minutes. Sounds great. But it also requires 30 minutes of masking per section to protect everything around it from overspray. A 4-inch roller covers a flat board fence at roughly 1 linear foot per 45 seconds, no masking, no cleanup drama. A brush alone on a picket fence runs about 1 linear foot per 90 seconds — which is genuinely slow but gives you the most control around detailed trim.
For a standard 50-foot privacy fence, a roller beats a sprayer on total time once you factor in masking, cleanup, and overspray touch-up. The sprayer advantage only really shows up on fences over 100 feet. Under 80 linear feet, the setup and cleanup overhead eats every minute you gained. I see people rent or buy a Graco Magnum X5 (entry-level airless, around $350) for a weekend job on a 40-foot fence, and they end up taking longer than they would have with a $9 roller sleeve.
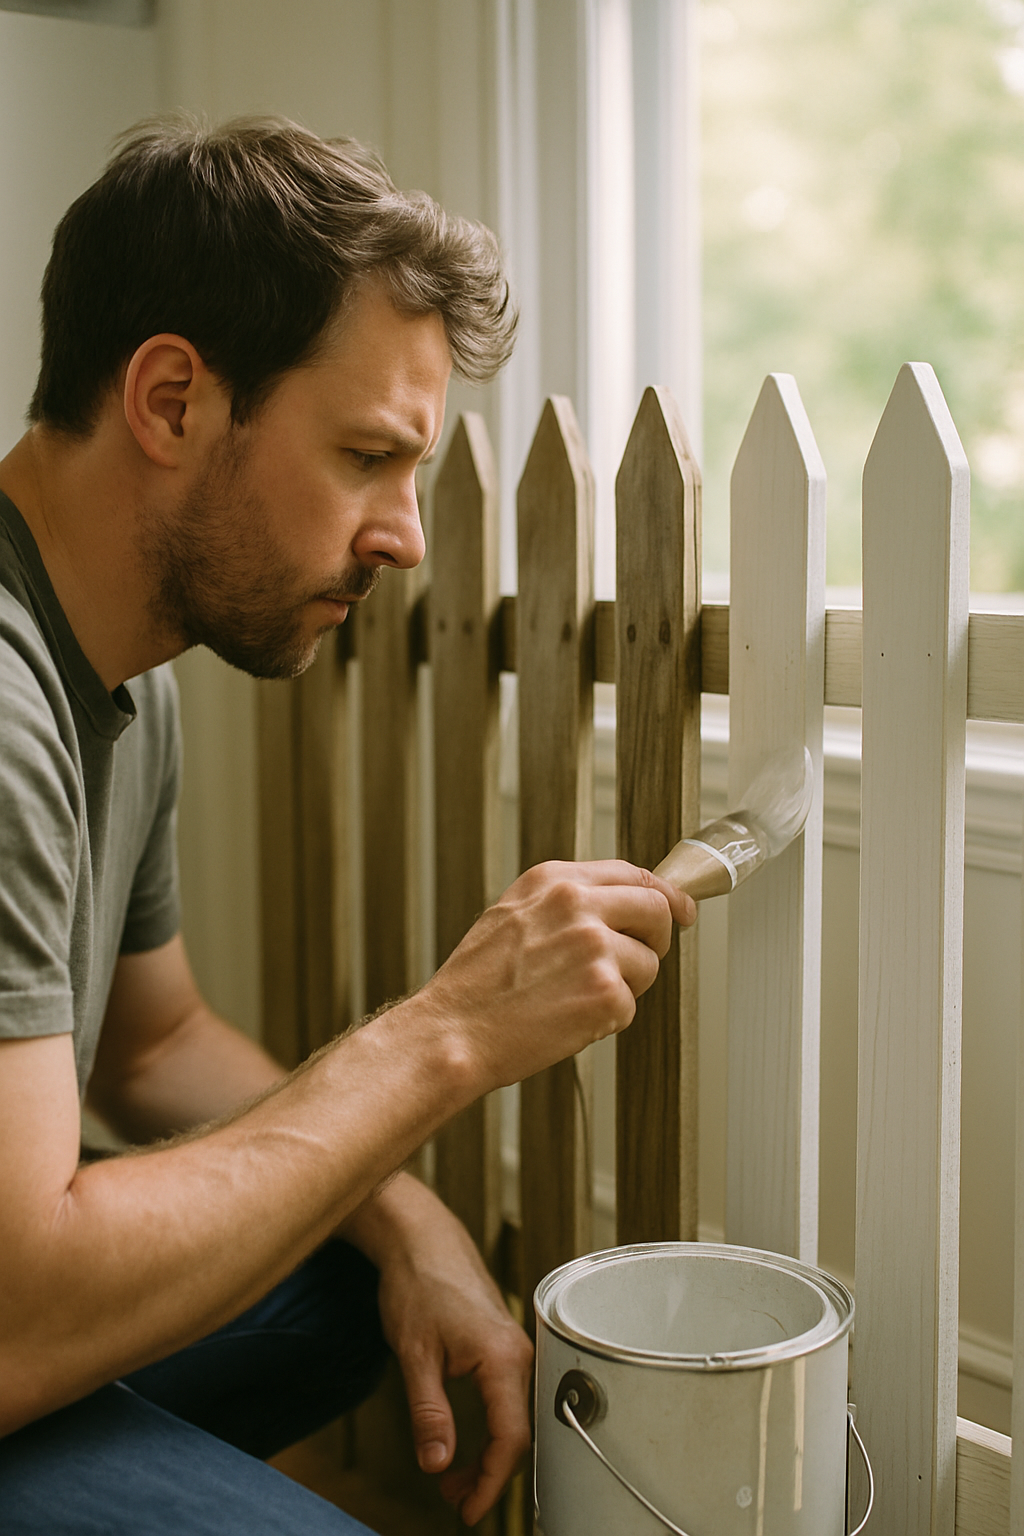
The underrated option is a 4-inch roller for board-on-board privacy fence. It’s not glamorous but it loads fast, lays a consistent coat, and you can do touch-up with the same tool. Save the sprayer for jobs that genuinely need it: wrought iron, lattice, split-rail, any fence with a lot of open space and irregular surface. Those are sprayer terrain. A solid cedar privacy fence is roller terrain.
Primer Is Conditional, Not Universal
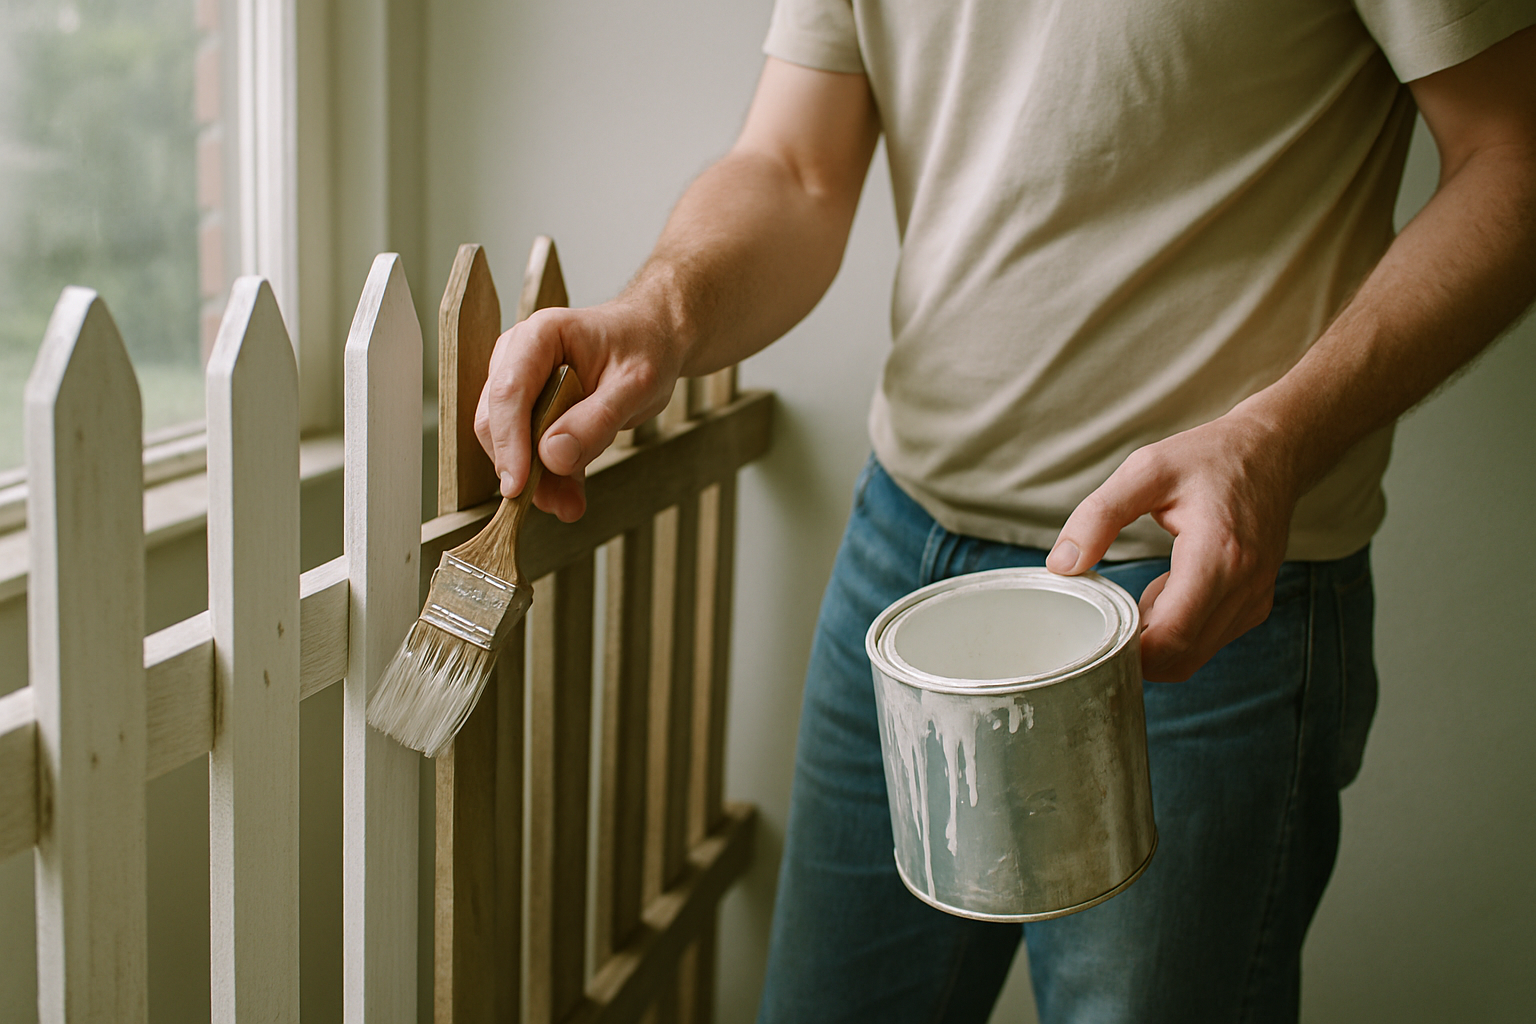
Skipping primer on bare wood to save time is the single most expensive shortcut in fence painting. I’ll stand on that hill. Bare new wood needs one coat of oil-based primer — something like Zinsser Cover Stain, which runs about $20 to $25 a quart. Without it, the raw wood absorbs your finish coat unevenly and you’ll need two or three coats where one would’ve done it with a proper prime. You didn’t save time. You lost a day.
That said, primer is not always necessary. If you’ve got a previously painted fence in decent condition, no peeling, no bare spots, skip the separate primer and use a paint-plus-primer product. You’ll pay about $8 to $12 more per gallon, but you eliminate an entire dry cycle, which on oil-based products means 24 fewer hours before you can recoat.
Going from a dark color to a light one? Use primer. It cuts your finish coats from three down to two, which on a fence that size is a meaningful time difference. (My contractor pointed this out when I was planning to go straight from a weathered dark stain to a light gray. I was skeptical. He was right, which is annoying.)
One thing that genuinely annoys me: people using interior primer on exterior fences. I’ve seen it recommended. Interior primer breaks down in 6 to 8 months outdoors and takes the finish coat with it. It’s not a real savings. It’s just a delayed redo.
Protecting Plants and Hardscaping Without Spending an Hour on Drop Cloths
Full drop cloth coverage for a fence job is overkill. There. I said it. And honestly, when you’ve done all that work laying down tarps, you paint sloppier because you feel protected. The coverage gives you false permission to be careless.
What actually works: a 4-foot strip of rosin paper along the fence base. Takes about 3 minutes per 20 feet to lay down, held in place with a few rocks or stakes. Rosin paper stays put in light wind where plastic sheeting absolutely does not. Plastic sheeting in any wind is a liability — it catches air, lifts, exposes exactly the beds you were trying to cover. I’ve abandoned plastic sheeting entirely. Canvas or rosin paper only.
For sprayer work, hold the nozzle 12 inches from the fence surface. That’s not a preference. At closer range the overspray drift increases significantly and you lose directional control. Keep it at 12 inches and angle the spray slightly into the fence rather than parallel to it.
If you do get latex overspray on plants, rinse it off within 30 minutes. After that it starts to set. Most plants handle a quick rinse fine. Letting it dry on leaves is where you cause real damage.
The One-Day Fence Painting Schedule That Actually Works
This assumes you washed the fence the day before and it’s had a full drying night. This is for a 50-foot fence in the 65 to 85°F range using latex paint.
7:00 AM: start first coat on shaded sections. The wood is cool, the paint levels well, and you have the whole morning ahead of you.
10:00 AM: move to sun-facing sections for first coat. Sun is up but not yet at peak intensity. You’ve got a window before afternoon heat becomes a problem.
12:00 PM: stop, inspect everything, touch up drips, eat lunch. Don’t skip this or you’ll be chasing drips at 4 PM when you’re tired.
2:00 PM: second coat on shaded sections. Your 4-hour latex recoat window from 7 AM is met with time to spare.
4:30 PM: second coat on sun-facing sections. You’re finishing the day’s hottest panels as the afternoon heat starts dropping.
Stop by 5:00 PM. That’s a hard stop, not a rough guideline. Evening dew is a bigger threat to fresh paint than direct sun, and almost no guide mentions this. Dew can start settling by 7 PM depending on your region, and wet paint plus moisture equals a dulled finish at best and a tacky surface at worst. You need at least 2 hours of drying before dew sets in.
The second coat always feels optional after a long day. It isn’t. And the trap is this: by the time the first coat looks insufficient when fully dry, you’ve already missed your same-day recoat window. Commit to the second coat before you start the first one, not after you see how it looks.