I’ll be honest — I was skeptical at first.
Paint on outdoor pavers sounded like a project that would look great for a week and then chip into a sad, flaky mess.
But here’s what I didn’t know: when you use the right materials and prep correctly, painted pavers hold up beautifully.
The texture of the stone actually grips the paint in a way that feels almost permanent.
And the visual payoff is immediate.
You go from flat and forgettable to something that looks like it belongs in a boutique hotel courtyard.
There’s also something deeply satisfying about the creative control you have.
You get to choose the pattern, the palette, every single detail.
It’s one of the most personal outdoor upgrades I’ve ever done — and it cost a fraction of what I expected.
If you’ve been staring at a dull patio and feeling like nothing is ever going to make it feel special, this is your answer.
The Supplies You’ll Actually Need (No Overwhelm, Promise)
When I first started researching this project, I fell into a rabbit hole of confusing supply lists.
So let me just tell you what actually matters.
You’ll need a concrete-specific exterior paint or masonry paint — this is non-negotiable.
Regular interior paint will not survive rain, sun, or foot traffic. Trust me on this one.
You’ll also want a concrete bonding primer, which is the secret step most beginners skip — and then wonder why their paint peels.
Grab painter’s tape in a few widths, a dense foam roller for larger areas, and small detail brushes for patterns.
A chalk line or measuring tape will save your sanity when you’re trying to keep designs straight.
And sealer — please don’t forget the sealer.
An outdoor concrete sealer applied at the end is what locks everything in and gives your pavers that gorgeous, finished look.
I’d also suggest having a kneeling pad because you will be on the ground for a while, and your knees will thank you later.
Prepping Your Pavers the Right Way (This Part Actually Matters)
Here’s the unglamorous truth: prep is everything.
When I did my patio, I almost skipped this part because I was just so eager to get to the fun stuff.
So glad I didn’t.
Start by sweeping your pavers thoroughly to remove all dirt, debris, and loose particles.
Then do a deep clean with a pressure washer if you have one, or a stiff scrub brush with soapy water if you don’t.
Any grease stains, moss, or mildew need to come up completely — paint won’t stick over that stuff, and you’ll be redoing everything in three months.
Let the pavers dry fully.
I mean fully — like, give it a full day in the sun if you can.
Once dry, apply your bonding primer and let that cure according to the label instructions.
It usually needs a few hours minimum.
I know the waiting feels slow, but this is the step that makes your whole project last for seasons instead of just weeks.
My Favorite Paver Paint Patterns to Try
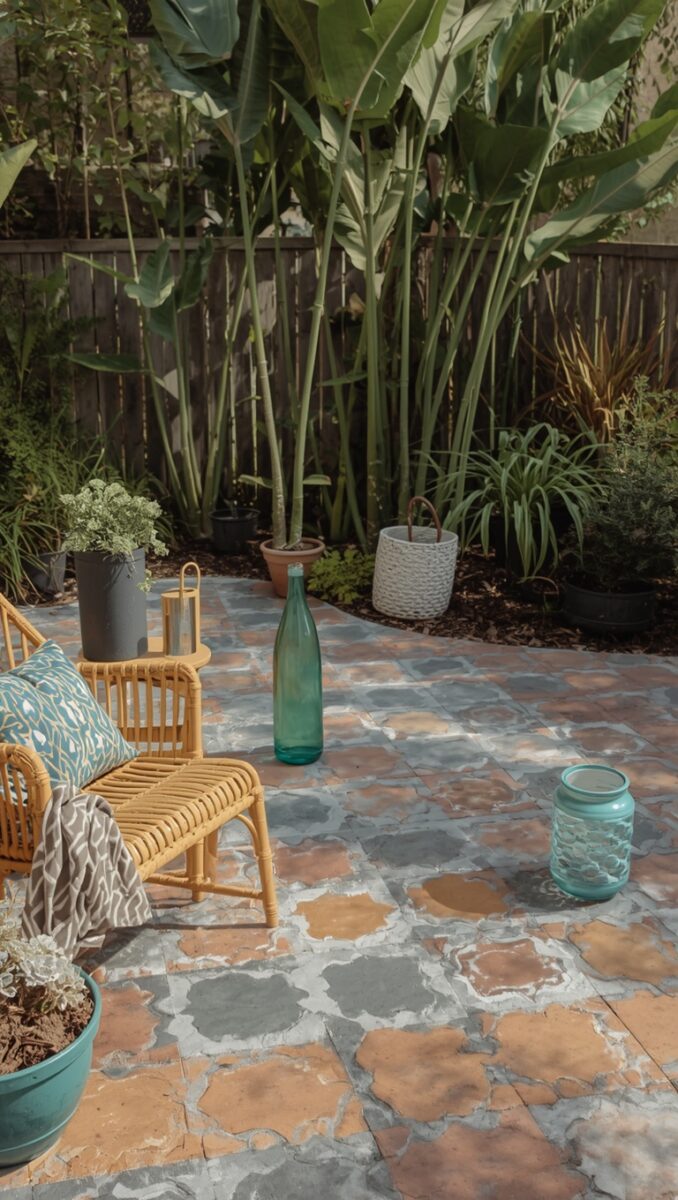
Okay, this is the part I love the most because the options are genuinely endless.
And different patterns create completely different moods, which is so fun to think about.
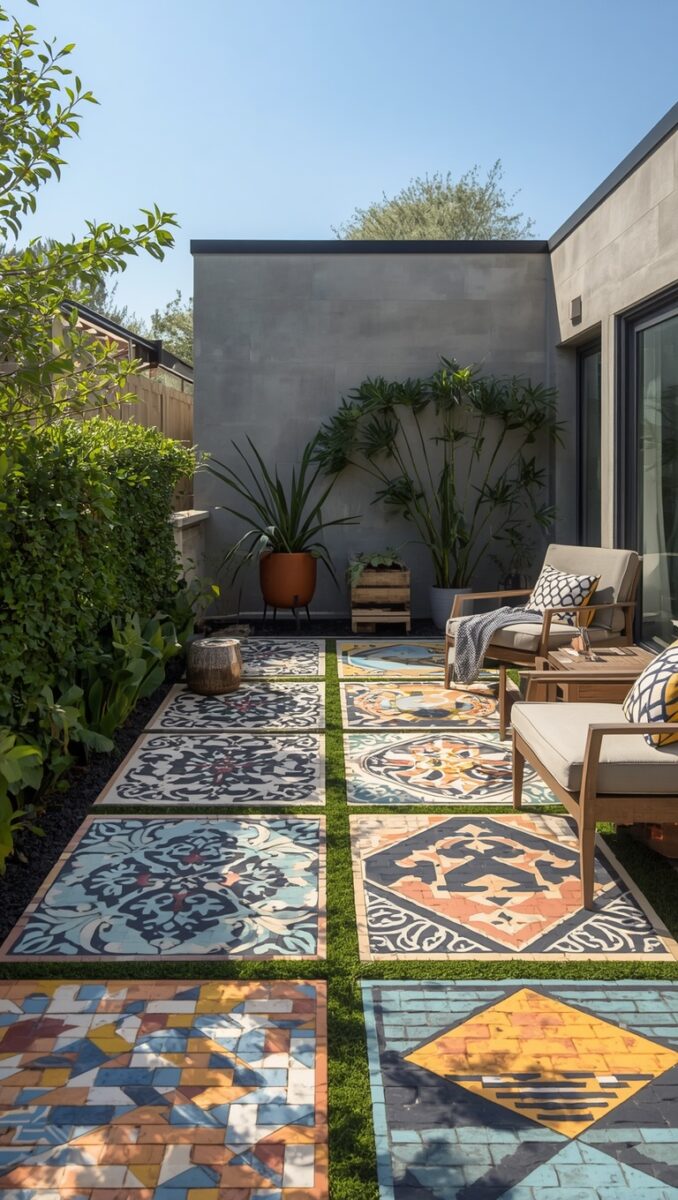
My absolute favorite is the Moroccan-inspired geometric tile look.
You use stencils to create intricate repeating patterns, and the finished result looks like you shipped in actual hand-painted tiles from overseas.
It’s stunning.
Another option I’m obsessed with is a simple checkerboard — alternating two colors in a classic grid pattern.
It feels timeless, a little retro, and works with almost any outdoor furniture style.
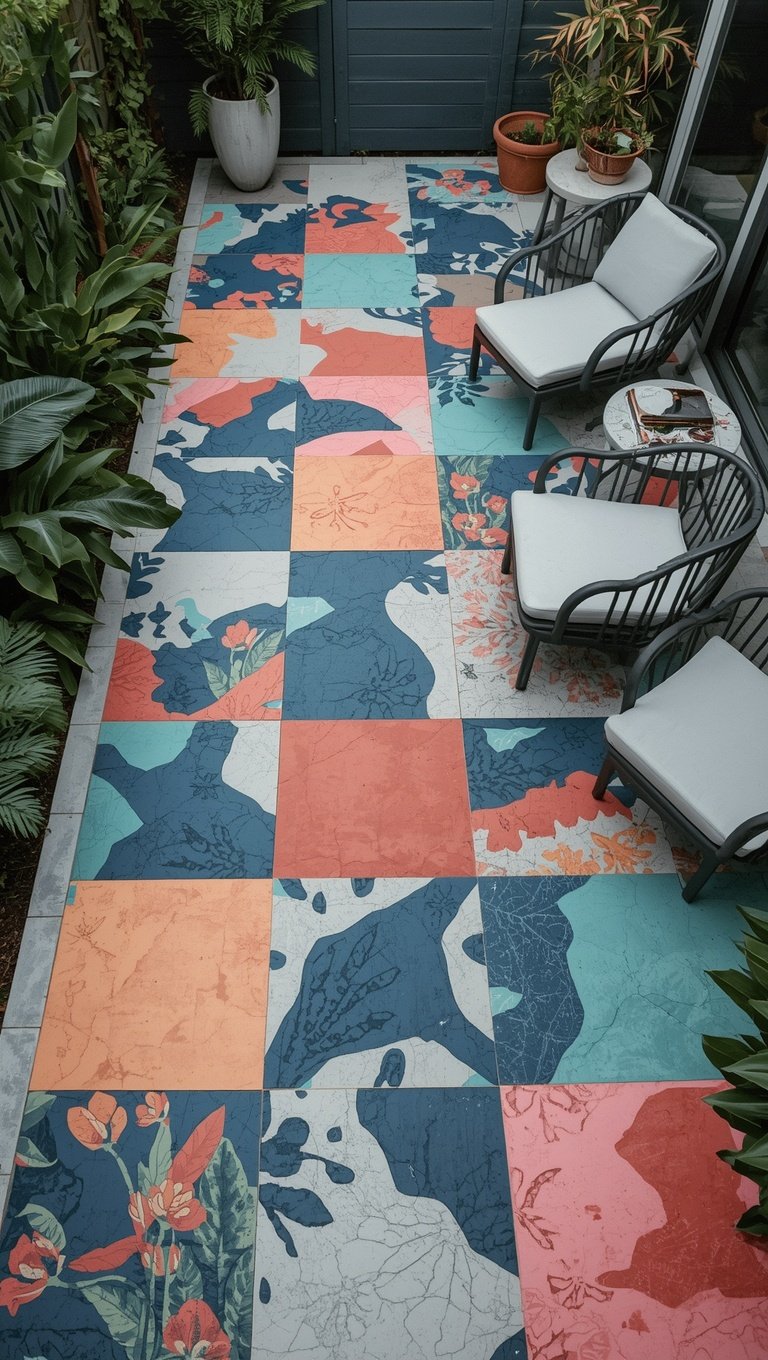
Then there’s the nature-inspired approach: soft leaf prints, simple florals, or abstract watercolor-style blotches of color.
These feel more free-form and organic, which is perfect if you want something that feels less structured.
If I had a small courtyard patio right now, I’d do an oversized checkerboard in terracotta and cream and just live for it.
How to Choose the Right Color Palette for Your Patio
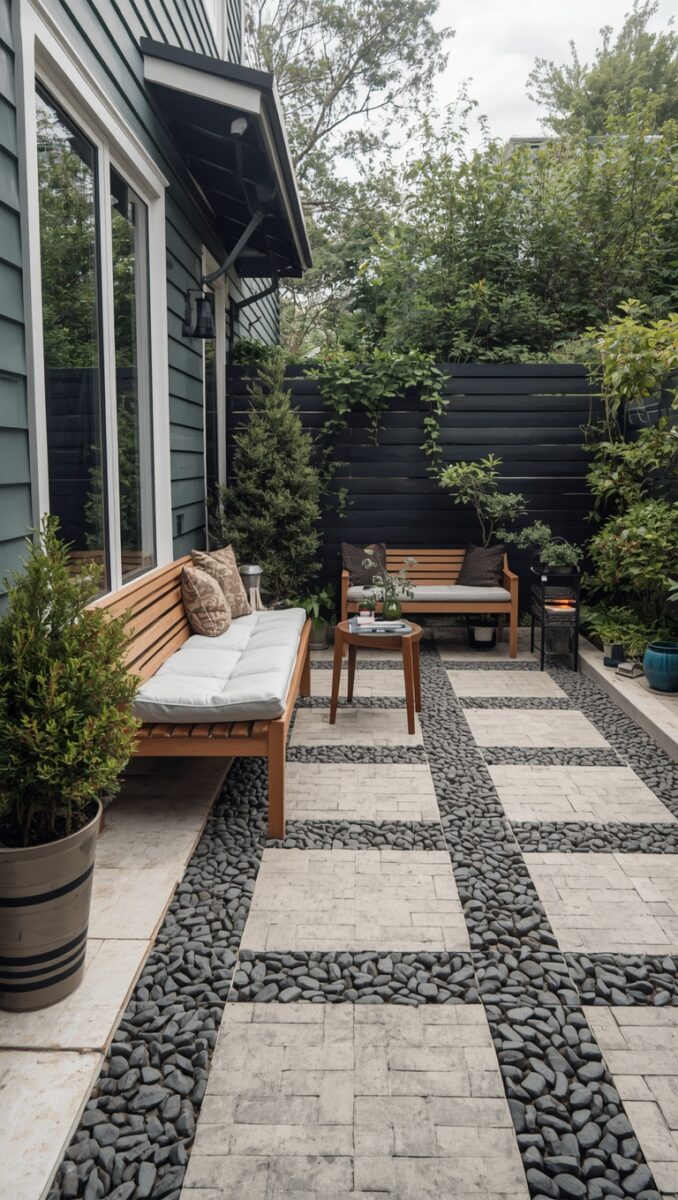
Color is where your whole personality comes through, and I think this is where most people get nervous.
They second-guess themselves into beige.
Don’t do that.
Start by looking at your outdoor furniture and any existing elements — cushion colors, planter materials, the color of your house exterior.
You want your paver palette to feel connected to those things, not like it was chosen in a vacuum.
Soft terracottas, warm sands, and dusty greens feel earthy and warm — like the Mediterranean escaped into your backyard.
Navy and white feels crisp, coastal, and incredibly chic.
Sage green with cream accents feels like a cottage garden dream.
For my own patio, I chose a faded coral paired with a soft off-white, and every time I step outside I feel like I’m at a little Spanish villa.
It sounds dramatic, but that’s literally the vibe.
Pick colors that make you feel something when you look at them.
Working With Stencils Like a Pro (Even If You’re Not One)
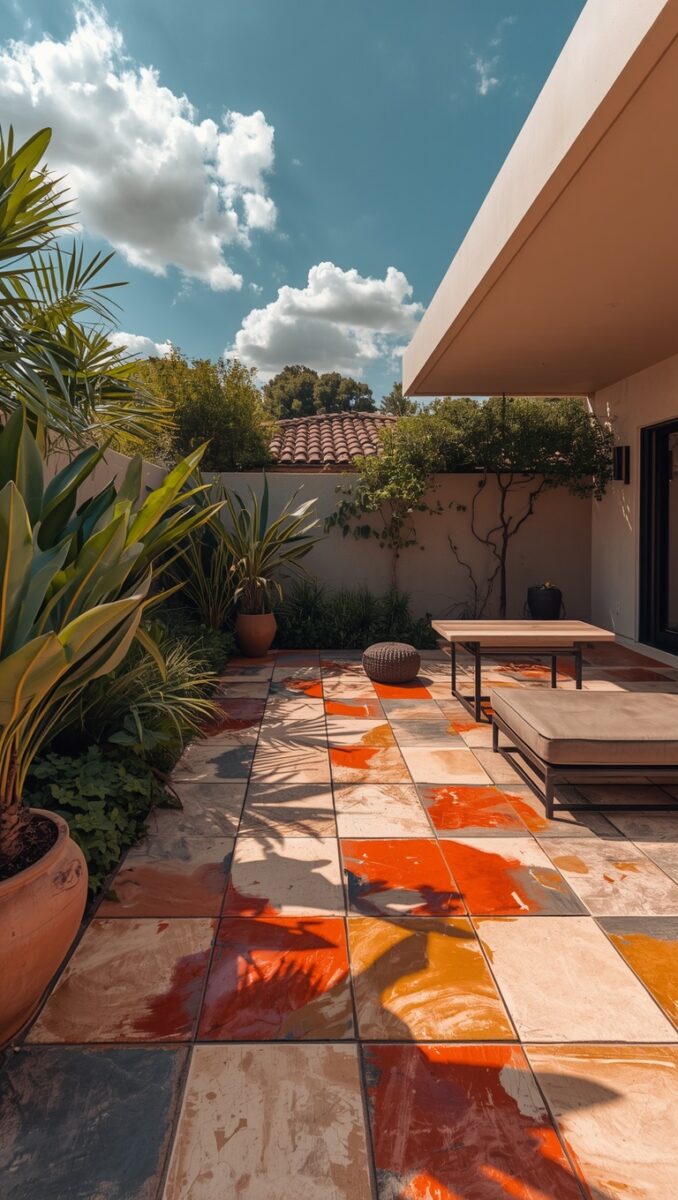
Stencils are what make painted pavers look incredibly professional without requiring any actual artistic skill.
And I say that as someone who cannot freehand draw to save her life.
The trick to stenciling cleanly is to use very little paint on your brush or roller at a time — less than you think you need.
This is called “dry brushing” and it prevents the paint from bleeding under the stencil edges.
Tape your stencil down firmly on all sides, especially the corners.
Apply paint in light, even layers and let each one dry before adding more.
When you lift the stencil, do it slowly and straight up — not at an angle.
Reposition carefully for each new paver, making sure your alignment is consistent.
I’d suggest doing a test run on cardboard or a scrap piece of concrete first just to get your pressure and paint amount right.
Once you find your rhythm, it goes surprisingly fast and the results feel genuinely magical.
Sealing Your Painted Pavers So They Last
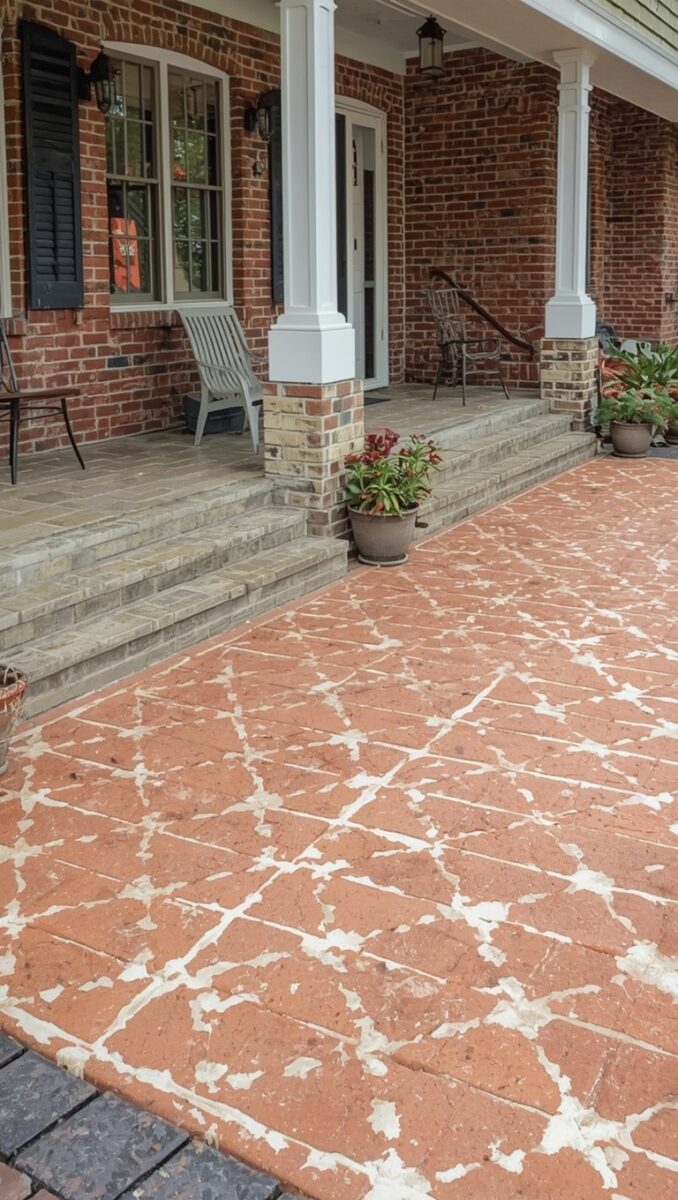
This is the step that protects all your hard work, and I cannot stress it enough.
Once your design is fully dry — and I mean cured, not just dry to the touch — it’s time to seal.
Choose an outdoor concrete sealer that’s compatible with your paint type.
Matte sealers give a more natural, earthy finish.
Gloss sealers make colors pop and are easier to clean.
Satin is my personal favorite because it’s right in the middle — a little shine without feeling too shiny.
Apply the sealer in thin, even coats using a roller or a brush.
Two coats minimum, with drying time in between.
In high-traffic areas, I’d honestly go three.
Reseal once a year — or after a particularly harsh winter — and your pavers will look gorgeous for years.
It’s the kind of maintenance that takes one afternoon and protects something you worked really hard on.
Small Patio? Here’s How to Make Painted Pavers Work Even Harder
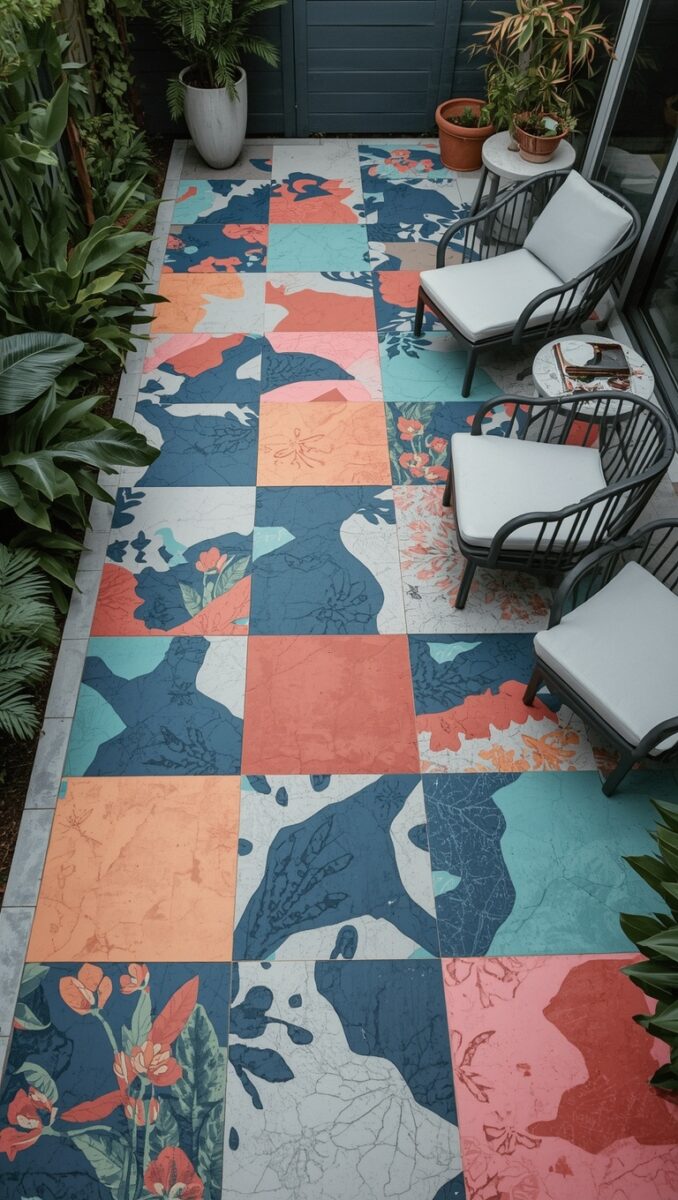
A small outdoor space can actually be more fun to design because every single detail reads clearly — there’s nowhere to hide, but also nowhere to get lost.
When I helped a friend transform her tiny apartment balcony patio, we leaned into a bold geometric pattern in black and white.
The contrast made the small space feel intentional and designed, rather than cramped.
The trick for small patios is to choose one cohesive design rather than mixing multiple patterns.
Pick a palette of two or three colors maximum.
And consider extending the design slightly up a low wall or border if you have one — it draws the eye and makes the whole space feel larger.
Light, warm colors also help small spaces breathe.
A soft blush, a warm ivory, a gentle sage — these shades open a space up rather than boxing it in.
Small doesn’t mean limited.
It just means you have a tight little canvas, and that’s actually kind of a beautiful thing to work with.
Adding Borders and Edging Details That Elevate Everything
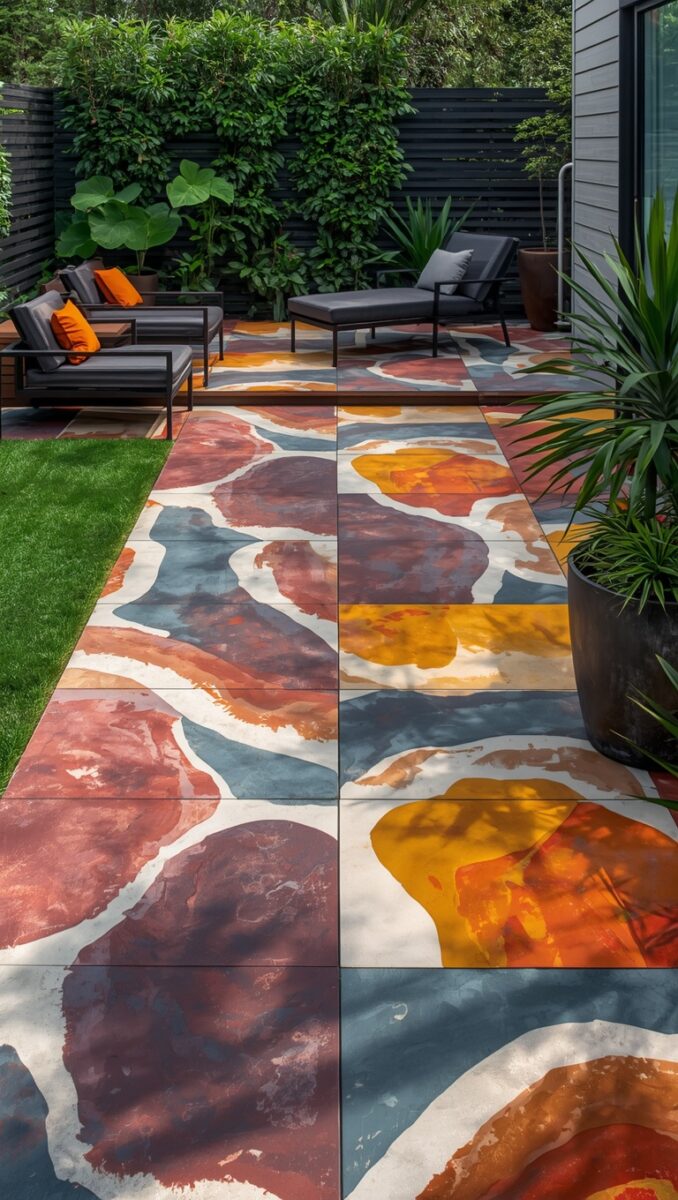
Here’s a little design secret that completely changed how my patio looked: borders.
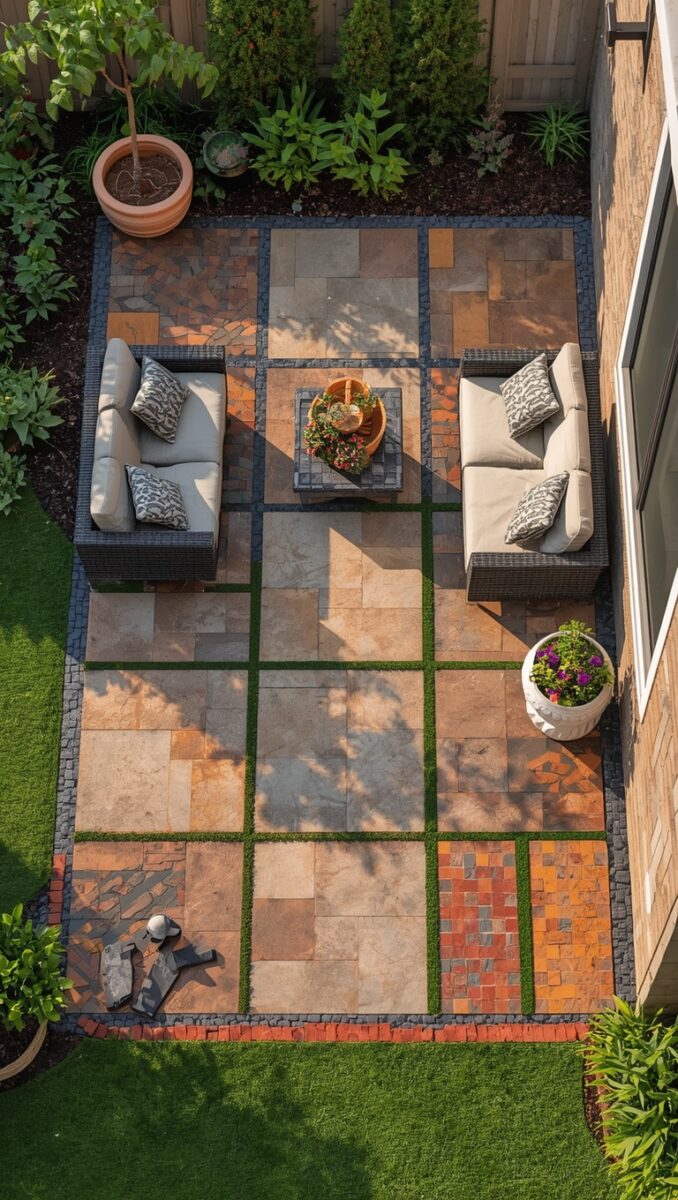
After I painted the main body of my patio in that coral and off-white pattern, I added a simple border around the outer edge — just a clean, solid line of a deeper terracotta.
And it pulled the whole thing together.
It made the patio look finished, intentional, and honestly way more expensive than it was.
Borders work because they give the eye a place to rest and a frame for the design inside.
You can do a single color stripe, a repeating geometric trim, or even a rope-like braided pattern if you want something more detailed.
Use painter’s tape to get your lines crisp and clean.
If you want a really refined look, measure and mark with chalk before you tape.
Even a simple two-inch border in a contrasting color adds so much visual sophistication that you’ll wonder why you didn’t do it sooner.
Mixing Painted and Natural Pavers for a Layered Look
One of my favorite things I’ve seen — and eventually tried myself — is mixing painted pavers with natural, unpainted ones.
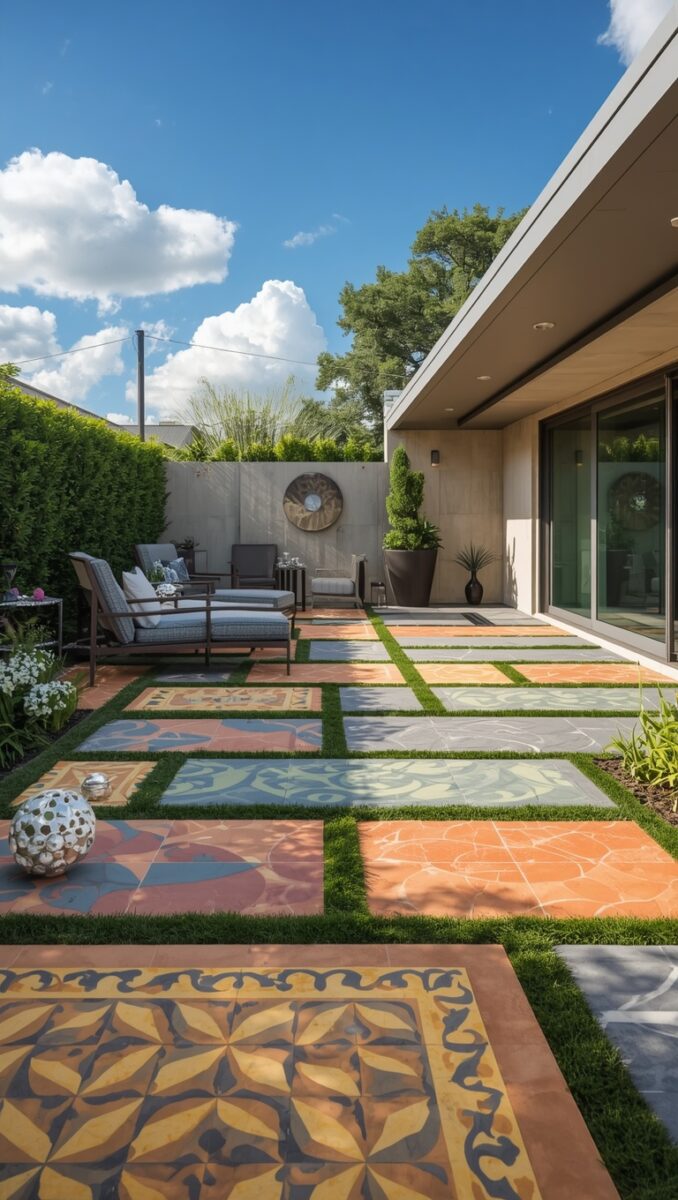
You don’t have to commit to painting every single paver on your patio.
Sometimes a scattered approach feels more organic and intentional.
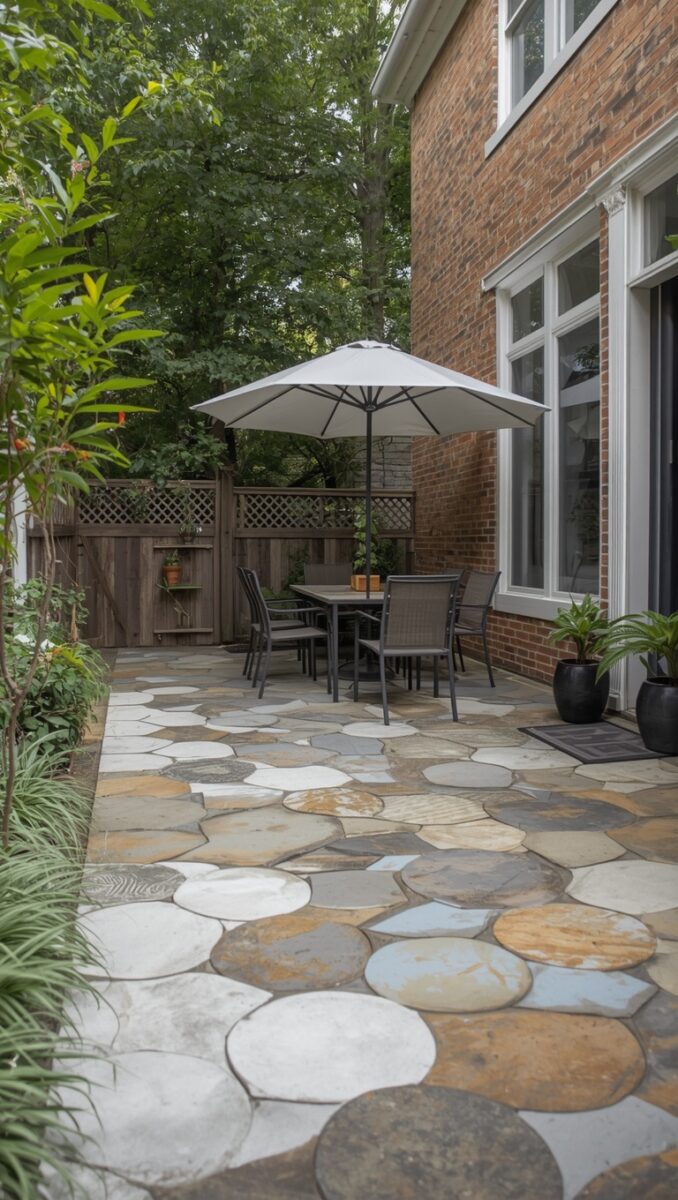
Think: every other paver painted in a soft sage, while the alternating ones stay in their natural gray or sandstone tone.
Or a pathway through your patio where only the stepping-stone pavers are painted, and the surrounding ones remain natural.
This layered look adds depth and texture that a fully painted patio sometimes lacks.
It’s also a little more forgiving if you’re nervous about committing to a full transformation.
You can always add more painted pavers over time as you get more comfortable.
Start with a small section — a corner, a border, a simple pathway — and see how it feels.
Most of the time, you’ll love it so much you’ll want to keep going.
How Painted Pavers Feel Completely Different Season to Season
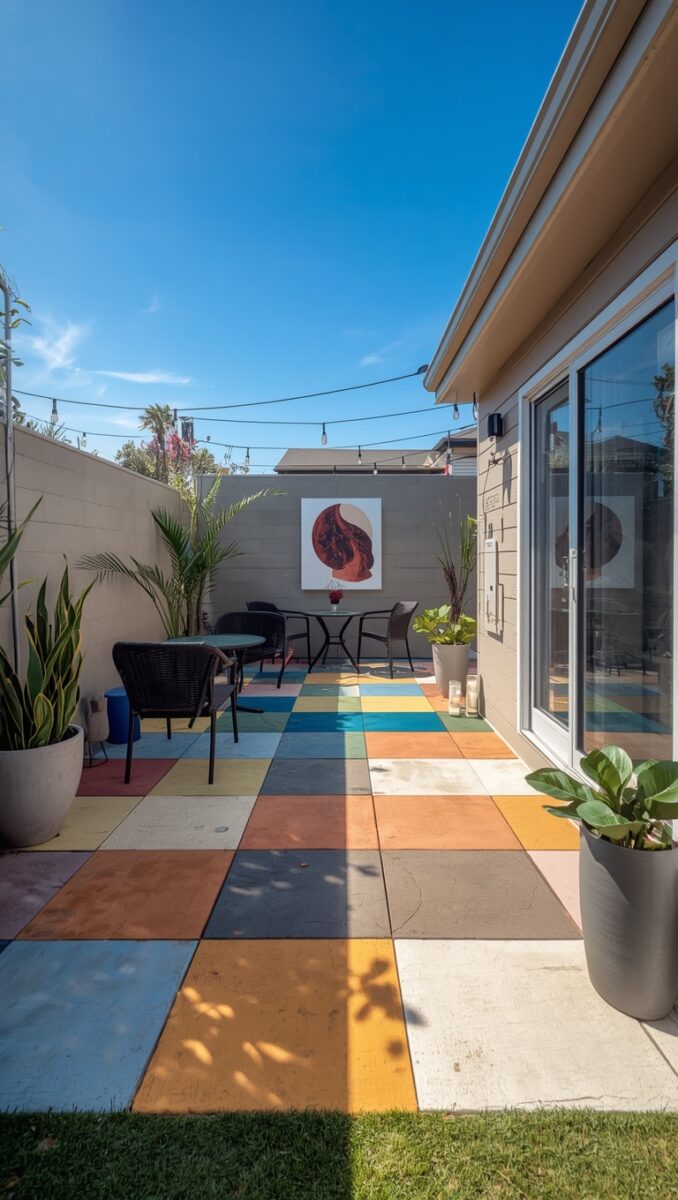
Something I didn’t expect when I first painted my patio was how differently it would feel depending on the season.
In summer, with bright sunlight hitting those warm coral tones, the whole space feels alive and almost Mediterranean.
By fall, when the light gets golden and lower in the sky, the same pavers look amber and rich — like something out of a Tuscan villa.
After a rain shower, the colors deepen and saturate in a way that’s genuinely beautiful to look at.
Even in the quieter months, when I drape the patio furniture and it’s not really in use, the painted pavers still make the space feel cared for.
There’s something really comforting about that.
Like even when the season turns and the outdoor living slows down, you still have this lovely little space waiting for you.
It’s the kind of project that gives back in small, unexpected ways long after the paint has dried.
My Honest Tips After Doing This Project Myself
I want to leave you with the real stuff — the things I wish I’d known before I started.
First: buy more paint than you think you need.
Running out mid-project and trying to color-match later is a nightmare I don’t wish on anyone.
Second: don’t paint in direct midday sun.
The heat makes the paint dry too fast and causes streaking.
Early morning or late afternoon is the sweet spot.
Third: if a section doesn’t look right, you can repaint it.
This is not a permanent tattoo.
Let it dry, lightly sand it, and go over it again.
Fourth: take photos as you go.
Not just for sharing (though please do share because it’s beautiful) but so you have a reference if you ever need to touch up a section and can’t quite remember the exact pattern.
And finally — have fun with it.
This is your patio, your space, your little outdoor world.
Paint it in a way that makes you smile every single time you walk out the door.